After the Scythe arm, this was probably the other primary concept that I wanted to include in the knight. I wasn’t absolutely sure if it would work or exactly how I was going to try and execute it.
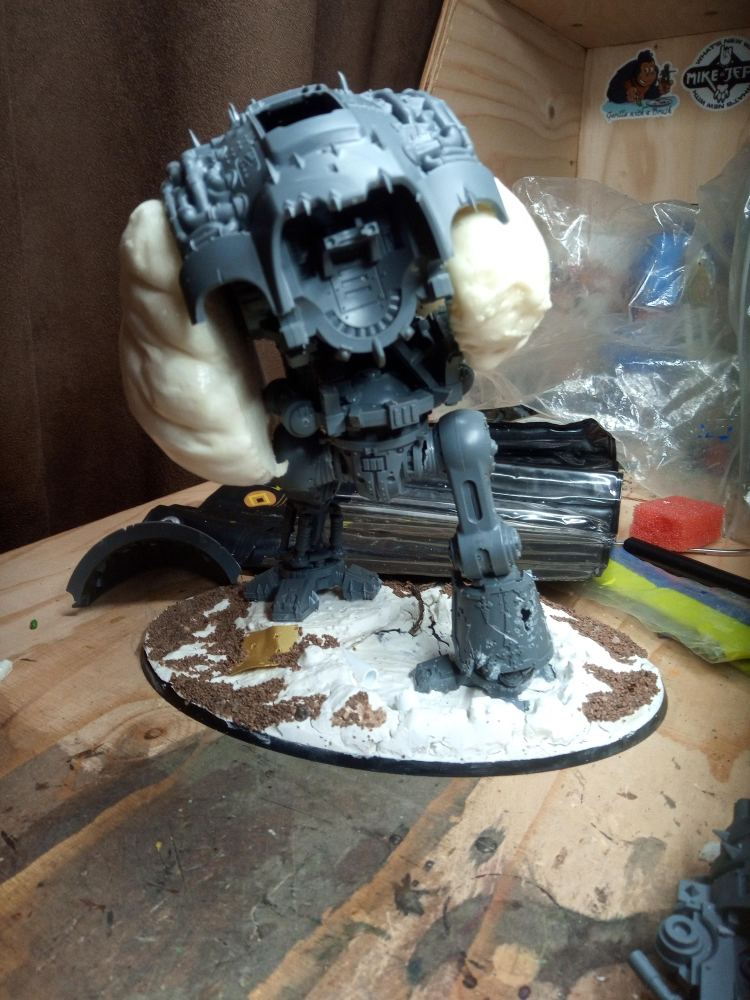
So the first thing I knew I had to do was, if I wanted to have a massive mouth in this thing then the body of the knight would essentially have to be the “head”, meaning I had to open up the body like a jaw. So I cut through the side of the body, I don’t have any photos of this but I remember just trying to cut throw joins in detail… not that it mattered because most of that all got covered up by the expanding foam anyway. After some prying I managed to get the body open and you can see in the mouth I propped and glued it with some bits of sprue.
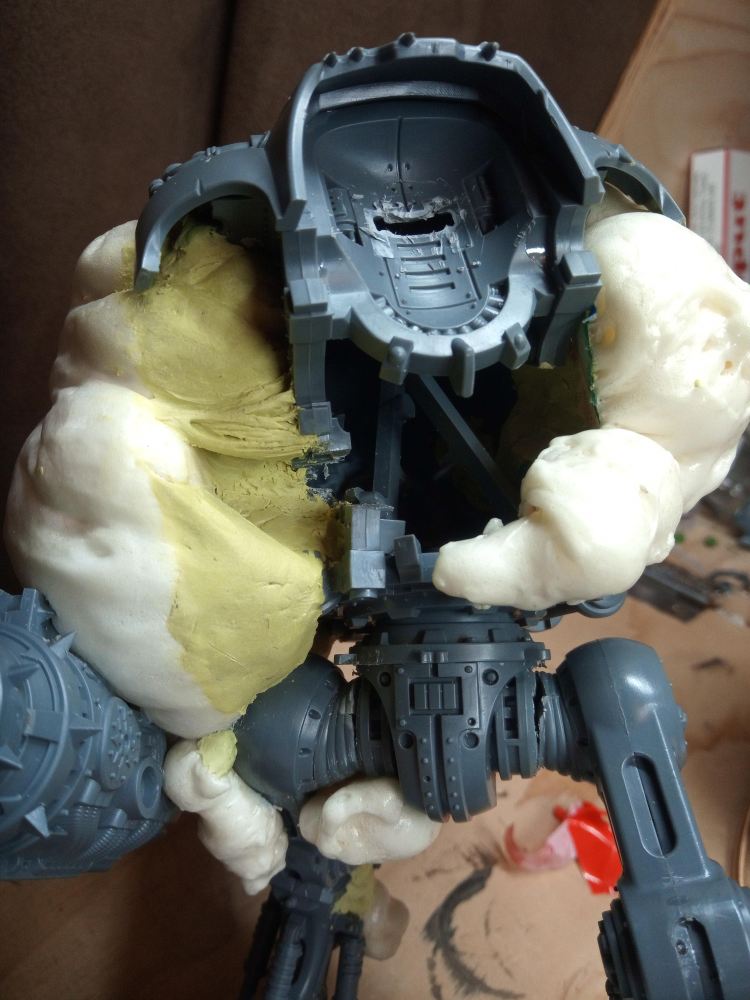
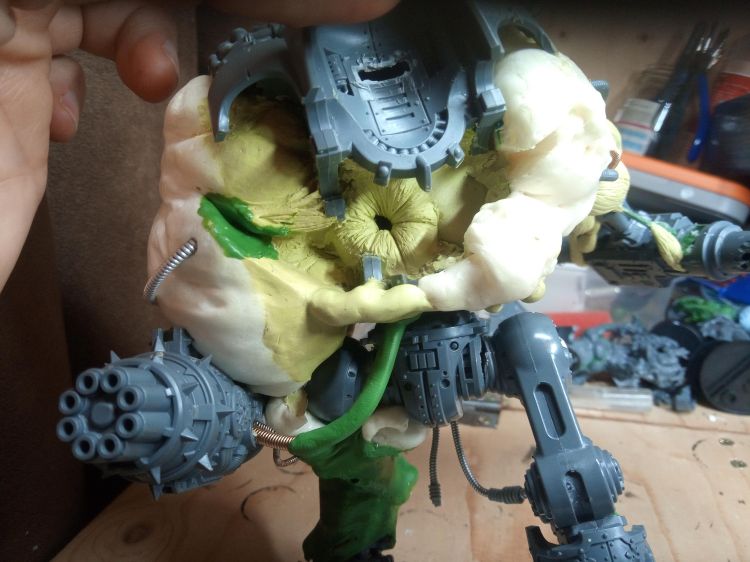
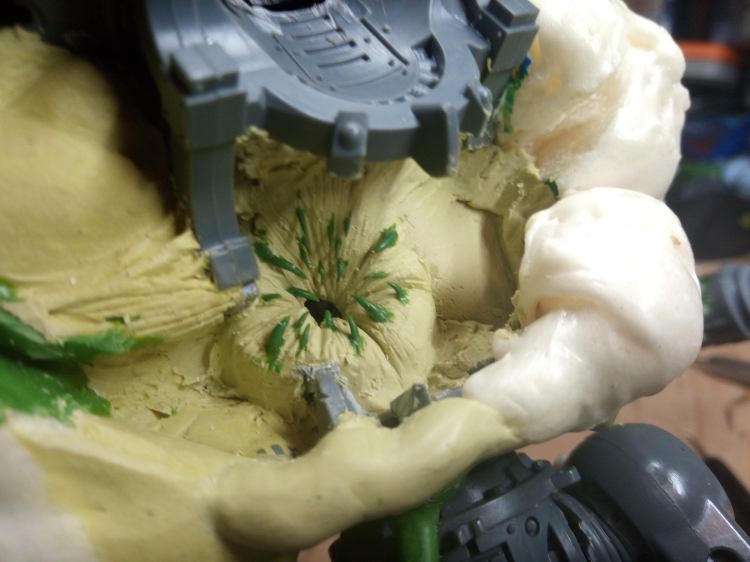
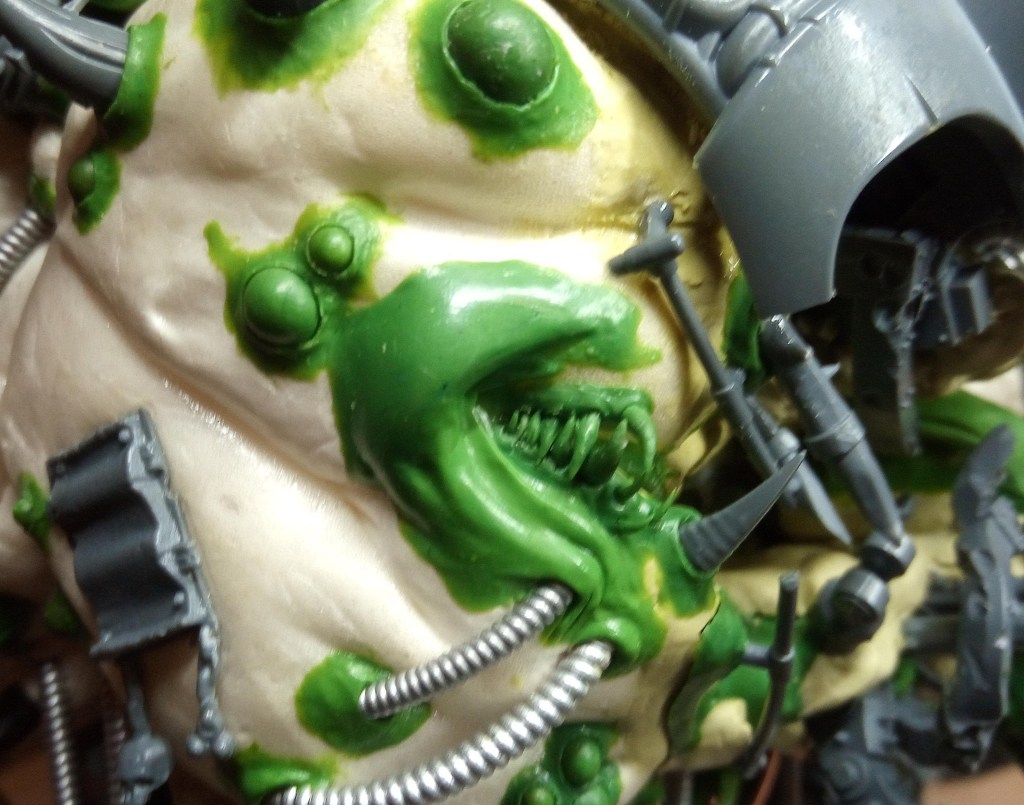
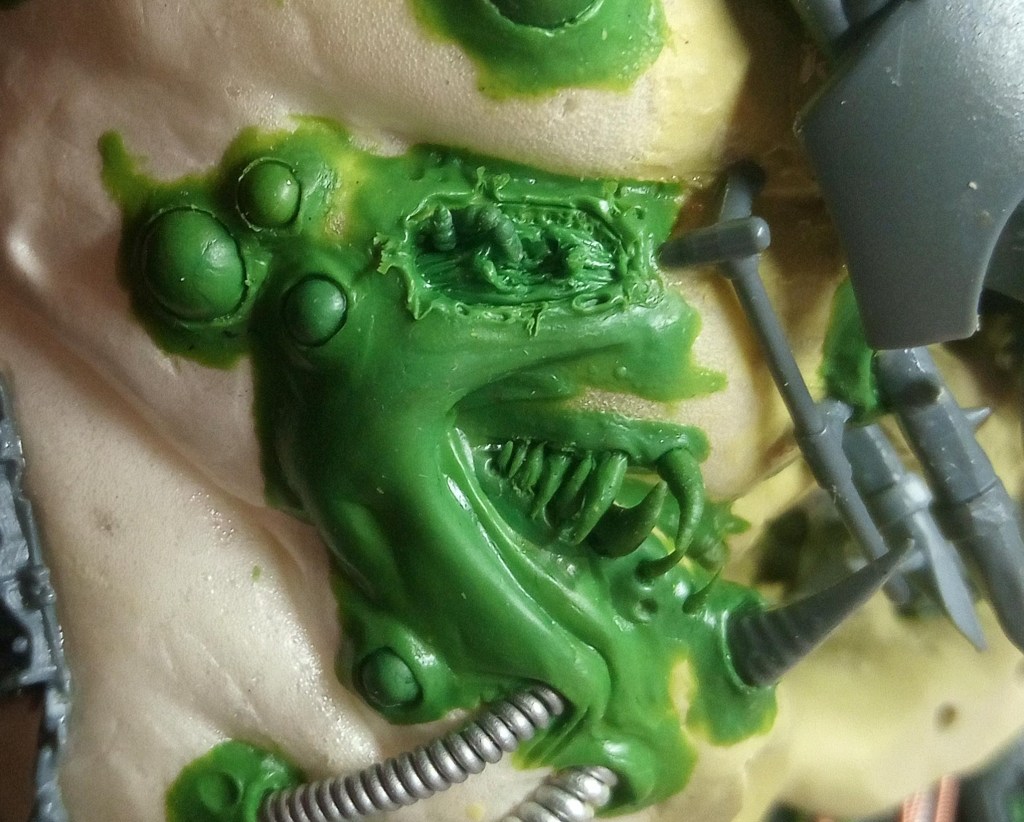
Next I started using Milliput to start building up the lower jaw of the model and to create a back to the mouth. as it would turn out, when the model was finished, without significant effort its almost impossible to see inside the mouth… but I wasn’t happy with leaving it open, so it needed a back and a throat. This was probably one of the first, very popular additions in detail, the “toothy throat anus”. I thought a puckered sphincter was an appropriately unpleasant way to form a throat. It didnt look dangerour enough though so I added small Green Stuff teeth around it for drawing in who ever is unfortunate to end up in there.
I definitely didn’t take enough photos of this stage but this was one of the technical aspects that was interesting to me. I intended to have huge teeth on the mouth, these teeth would be very difficult to get past with a brush and the was a surface inside the mouth that would need painting. So I need to make this part of the model sub assembly, but I couldn’t just build the whole thing and then slice the lower jaw off.
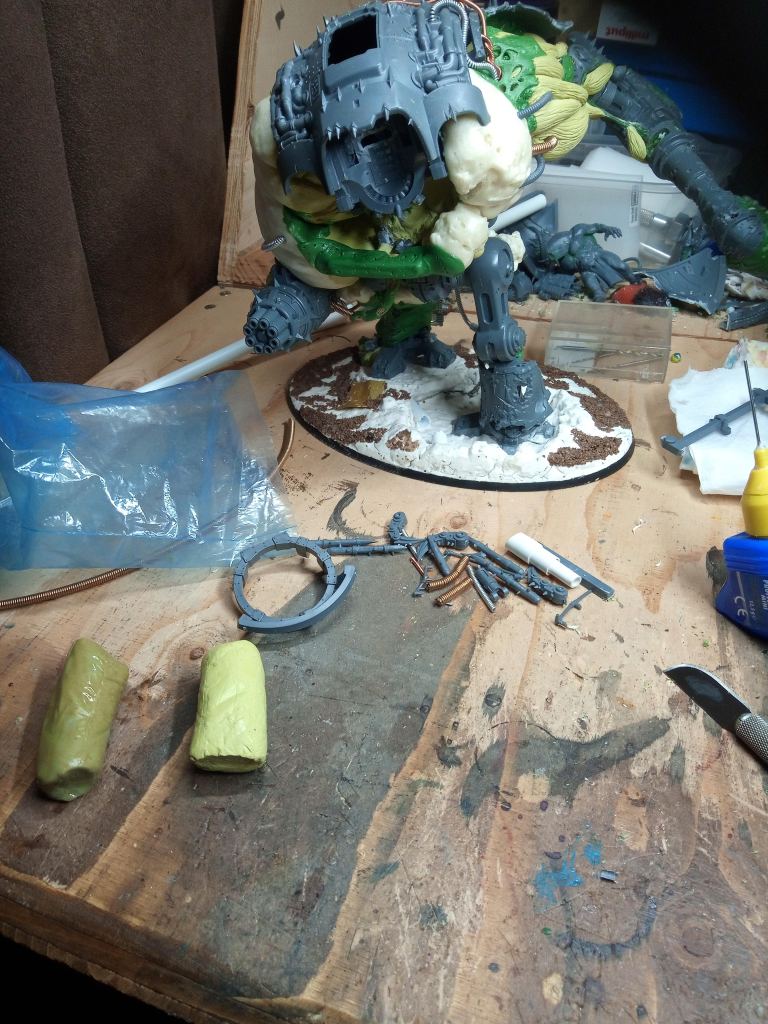
I needed to think of a way to get the lower jaw to seamlessly fit onto the model, in the same place ever time… but without letting the epoxy putty bond the removable jaw to the model, which it can do quite well. So I’ll try to explain as best I can with this one rubbish photo.
- I cut a flat plane onto the existing Milliput of the lower jaw, enough that a short piece of sprue would fit flush against it.
- I drilled through the sprue and into the milliput in 2 places.
- Then attached 2 pins to the plastic sprue, that fit in the holes in the Milliput.
- I then smeared a very fine layer of oil onto the main model
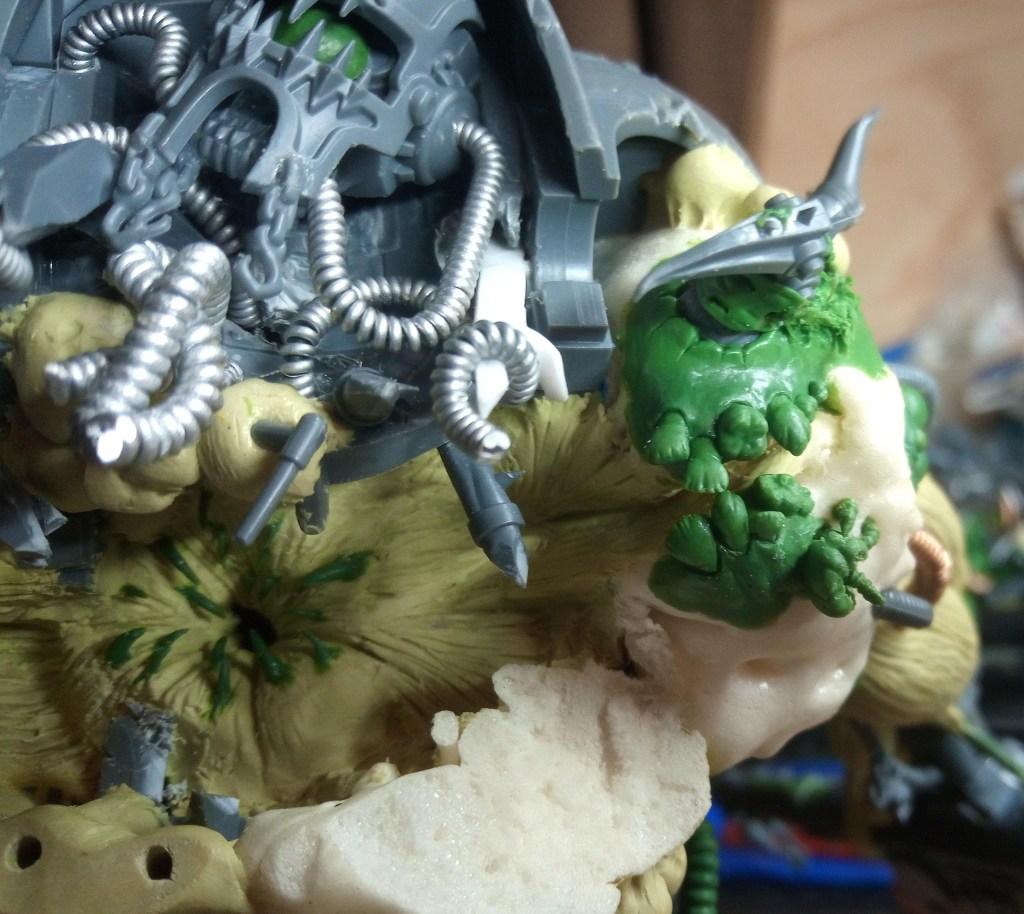
- finally I put a layer of greenstuff on the bar and conformed it to the oiled surface of the model. (the stage in the photo)
Now I had something I could anchor the rest of my sculpting onto, that I knew would snugly attach to the model. you can see a load of holes and stuff I poked into the green stuff, that was just to key the surface to help future applications of epoxy putty to adhere.
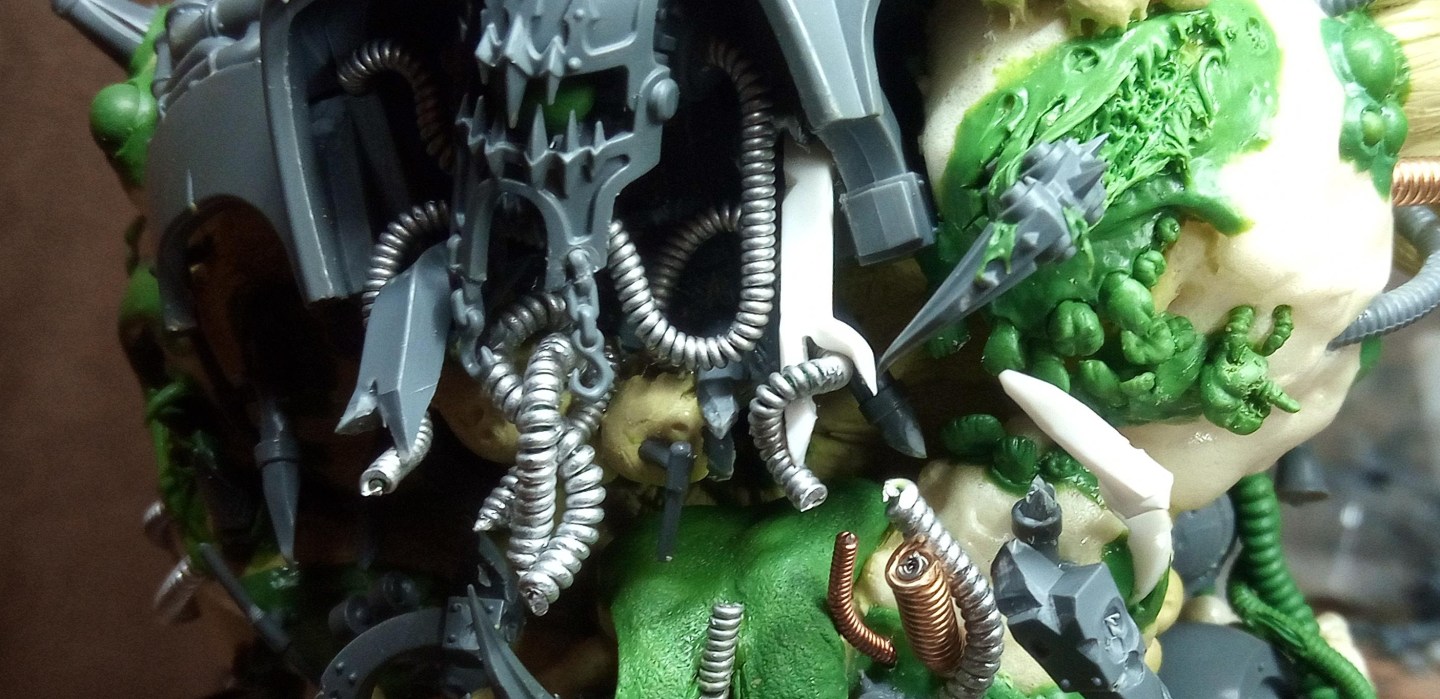
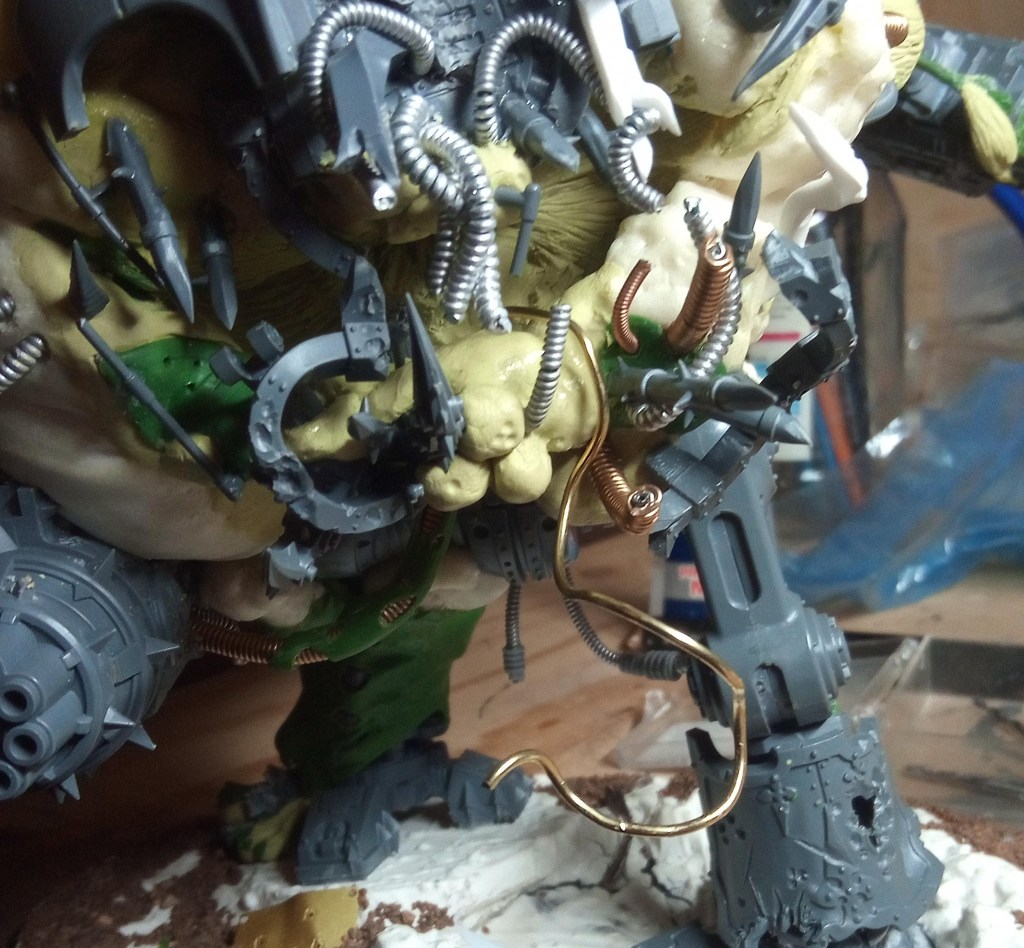
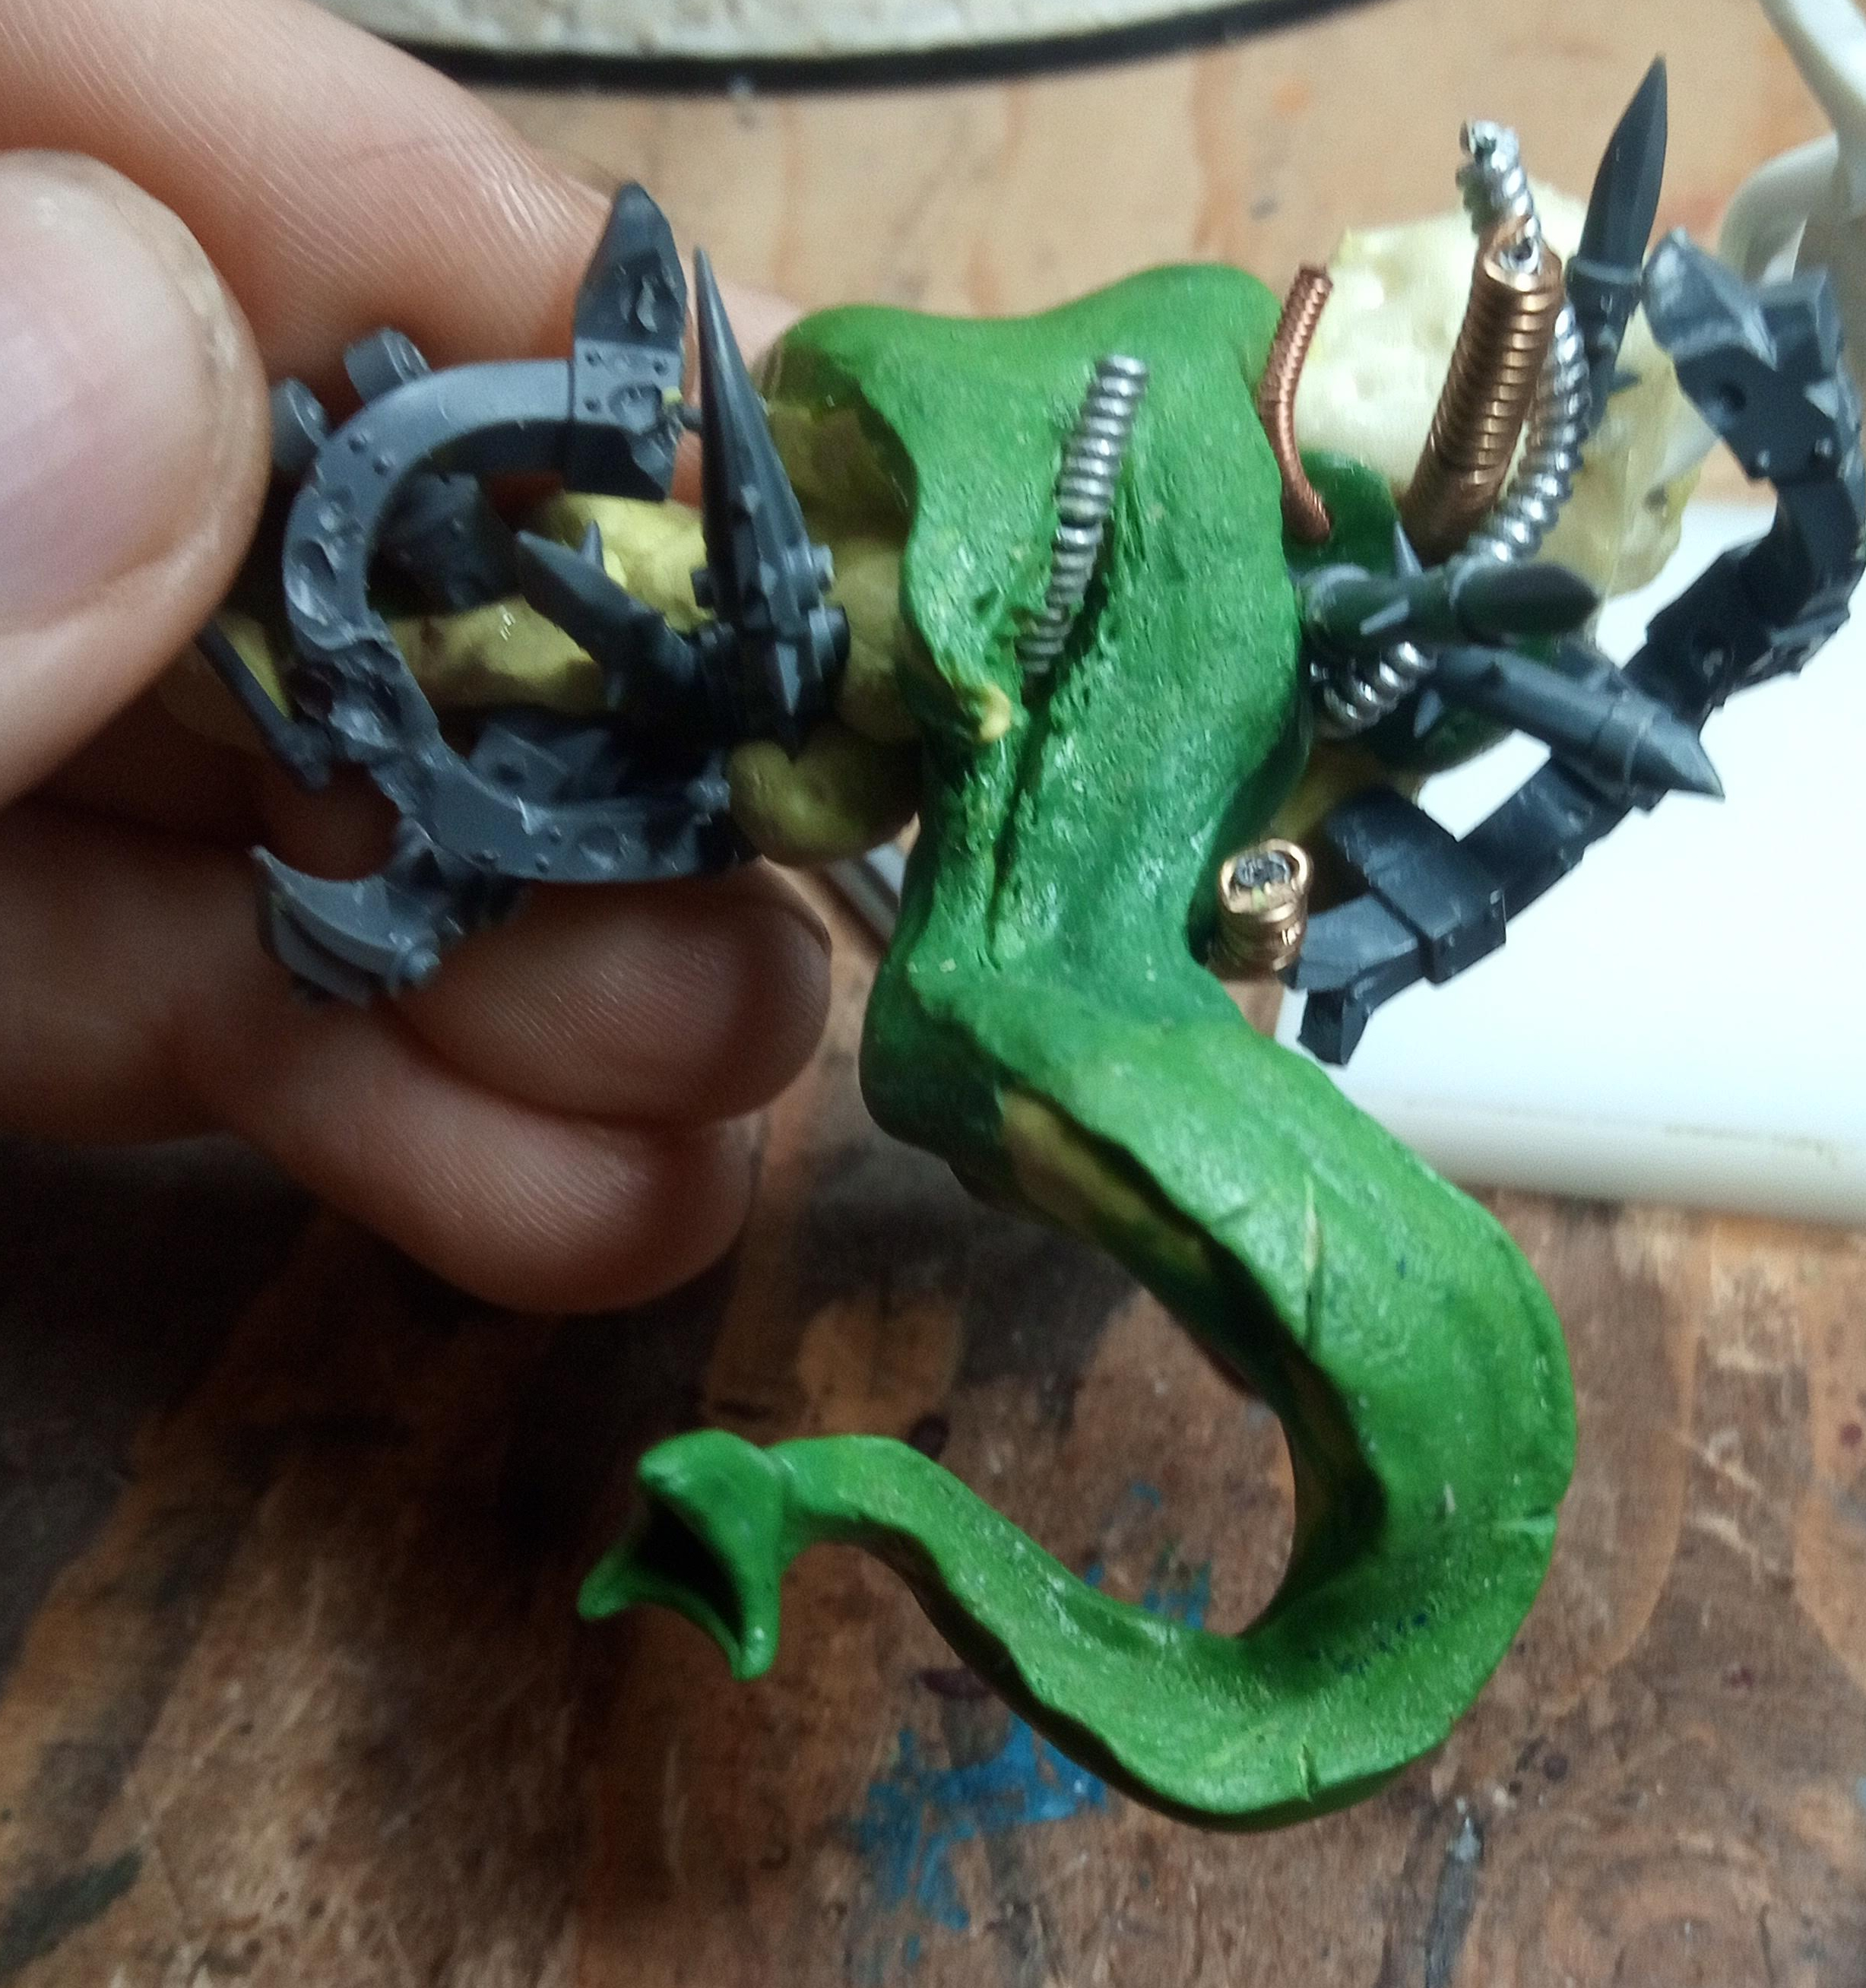
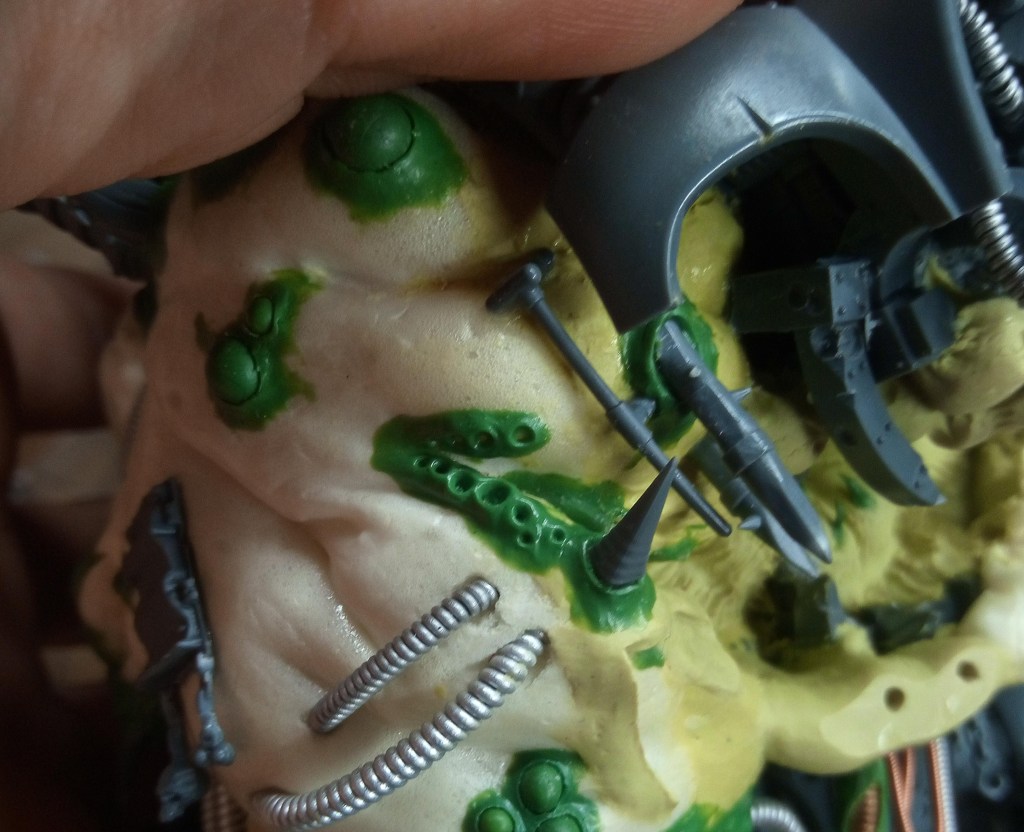
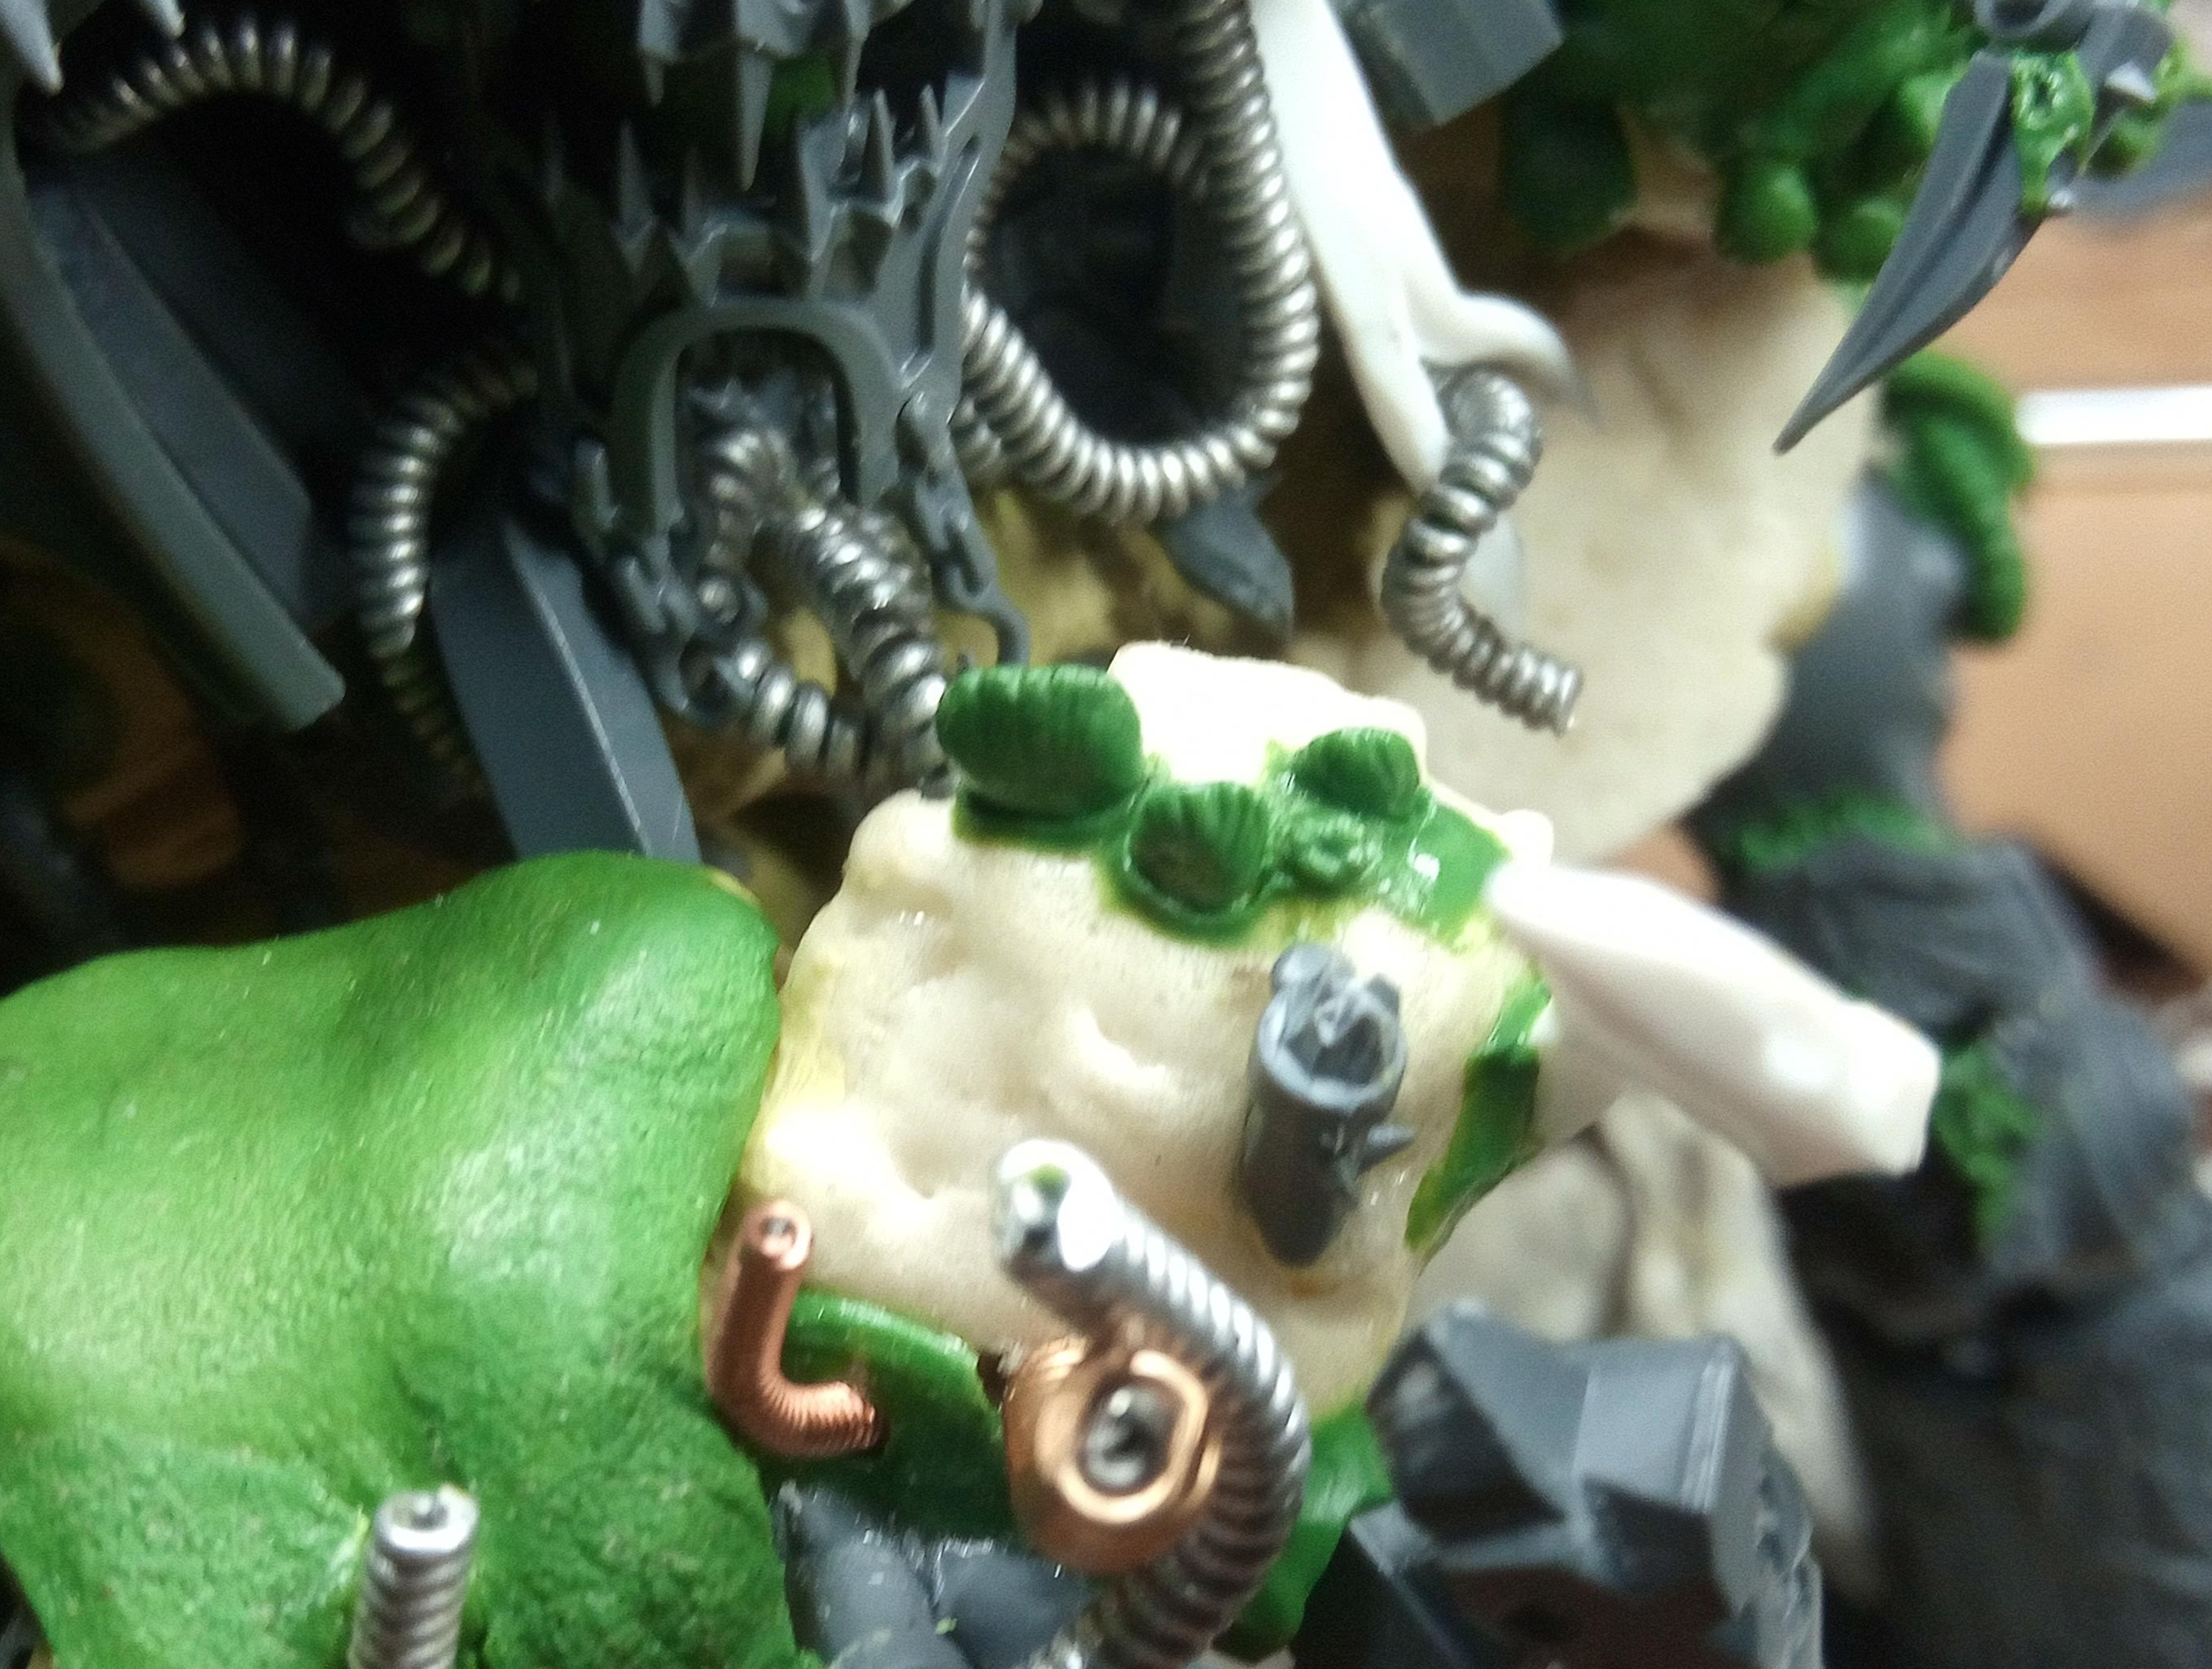
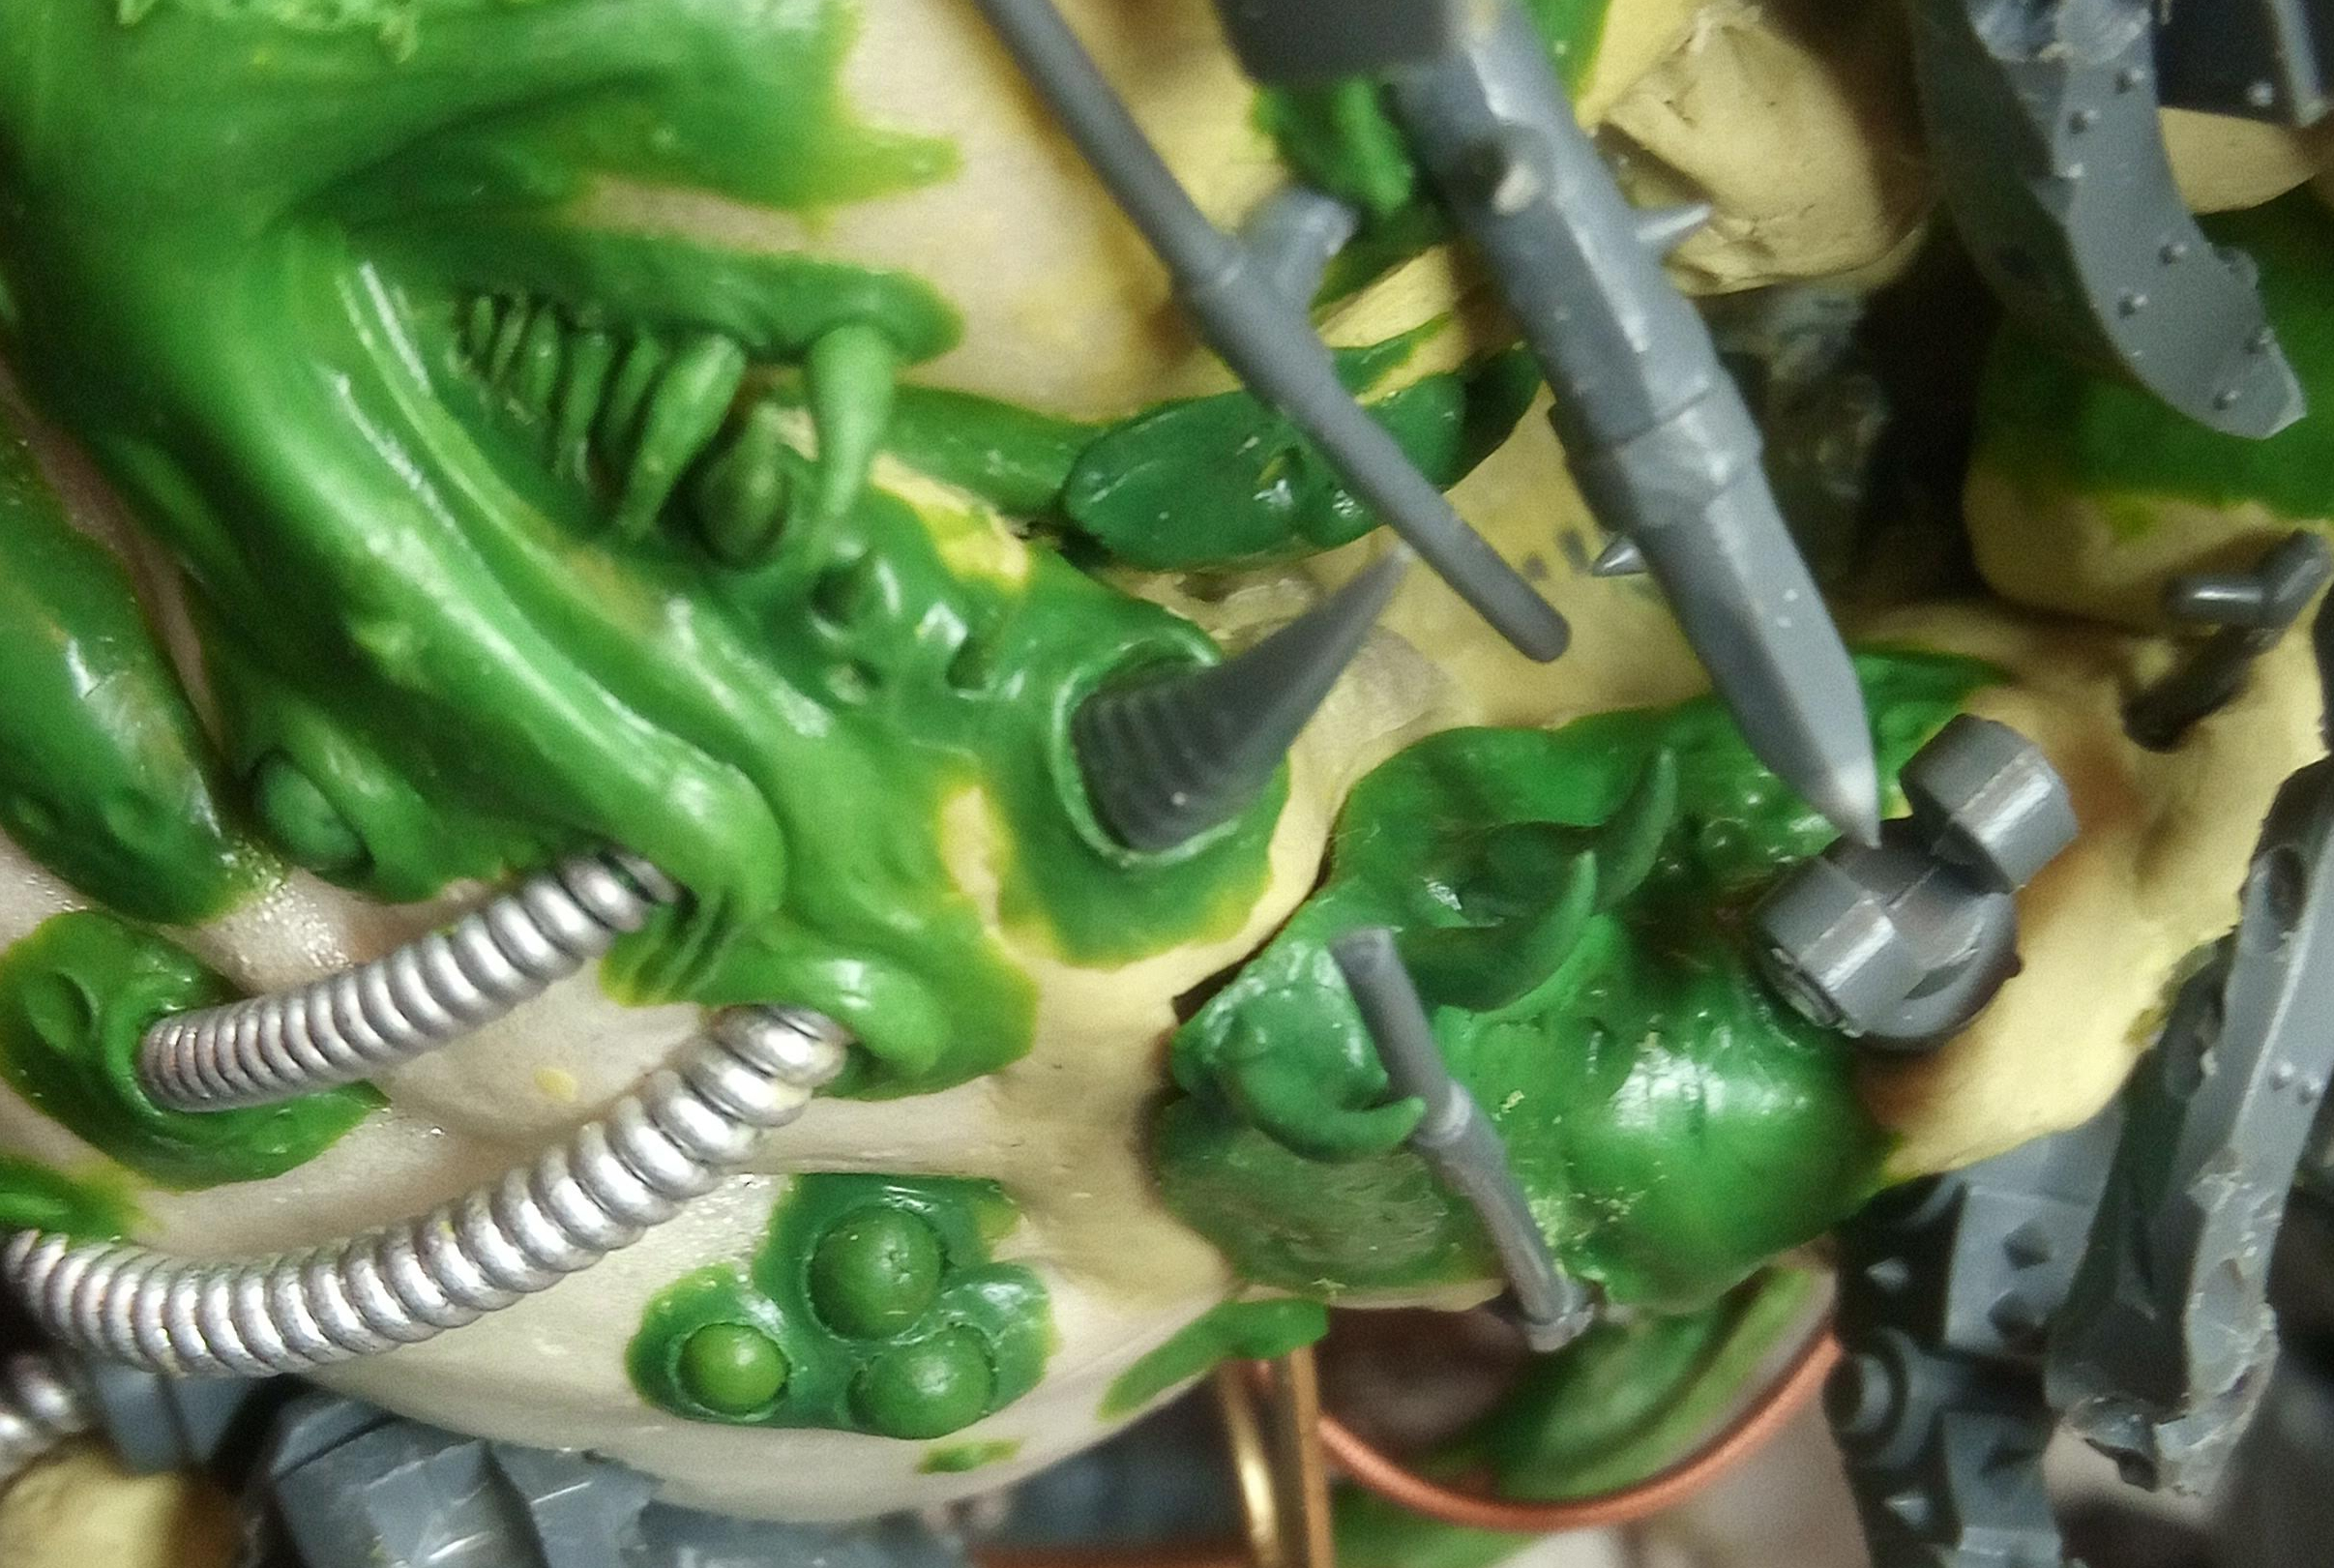
Now we get to see the first exciting steps into what the final aesthetic would really look like! I added a load of blobs of milliput all over the Greenstuff plate you can see in the last photo. Then into those I started poking the teeth that were made out of various spare pieces of “scrap” (spare pieces from the kit I wasnt using, things I had made and not used, bits of guitar wire, etc.)
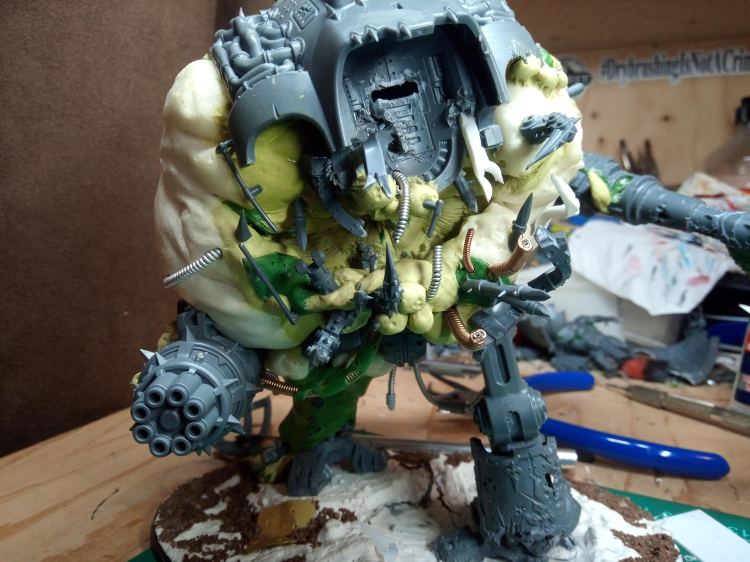
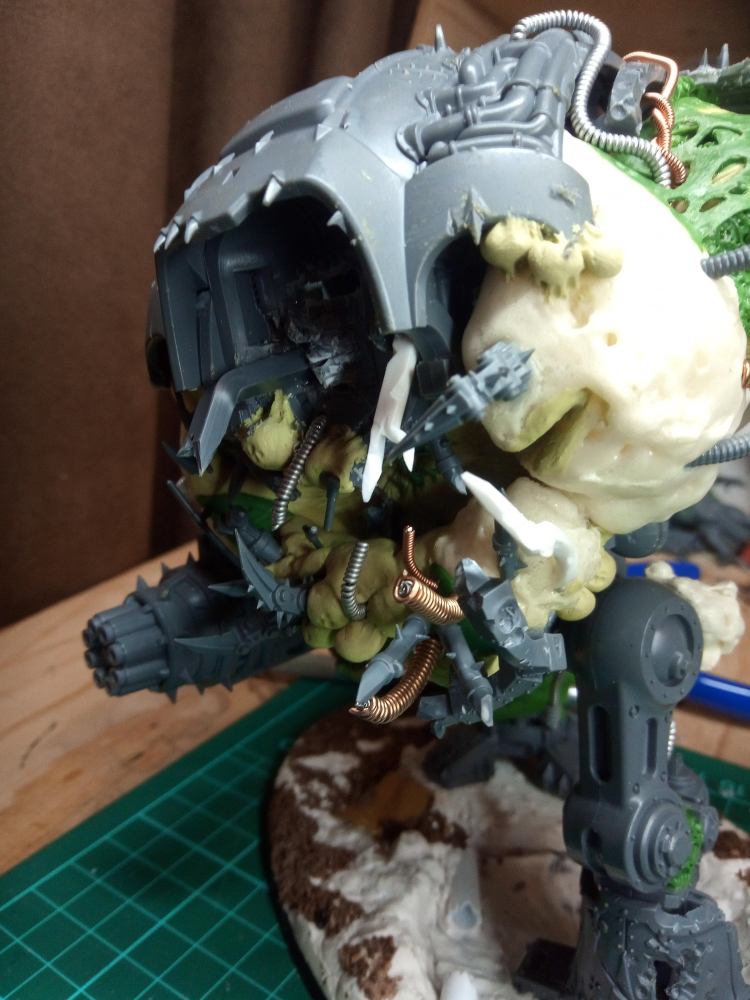
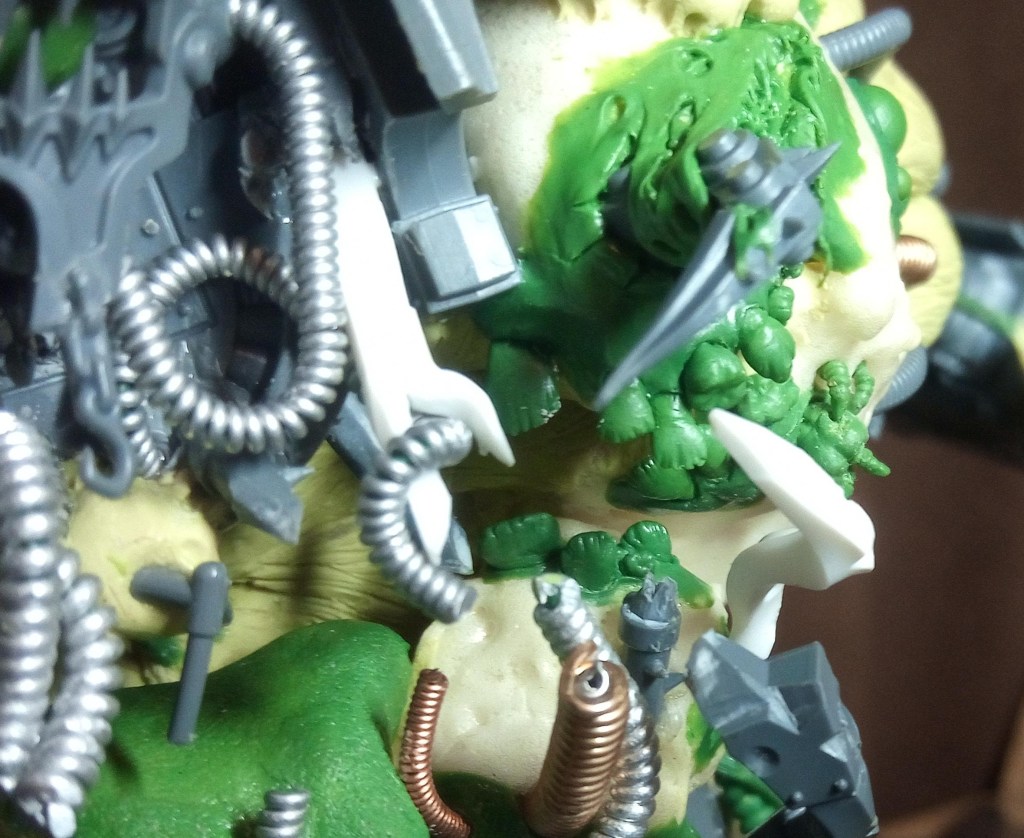
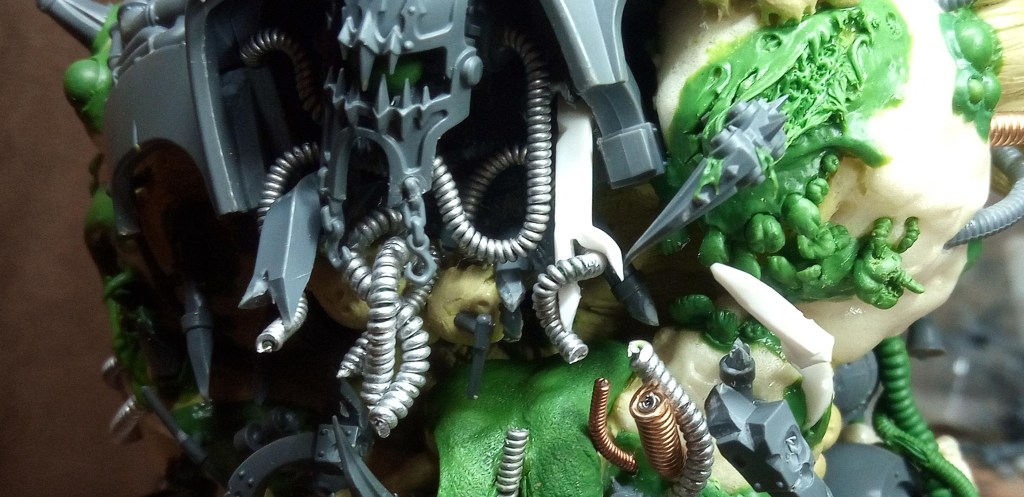
In these next photos you can see that i worked on increasing the density of the teeth, I put in some of the wrapped wire, and even a piece of the pauldron framework.
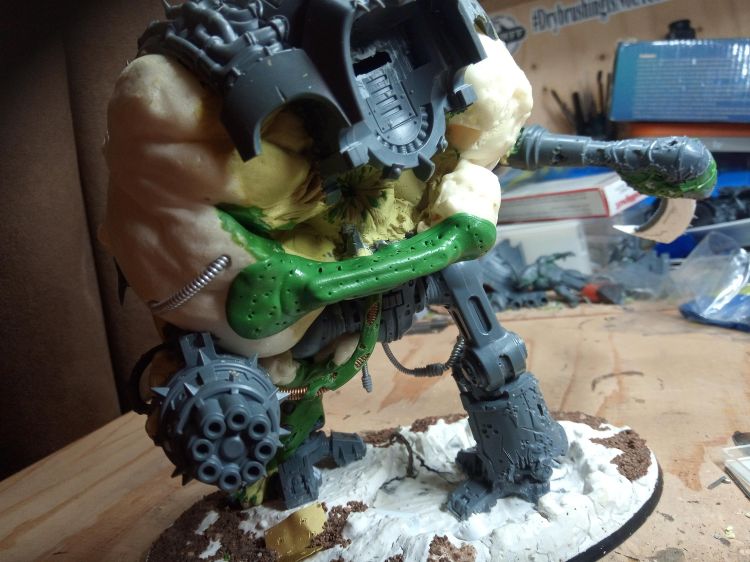
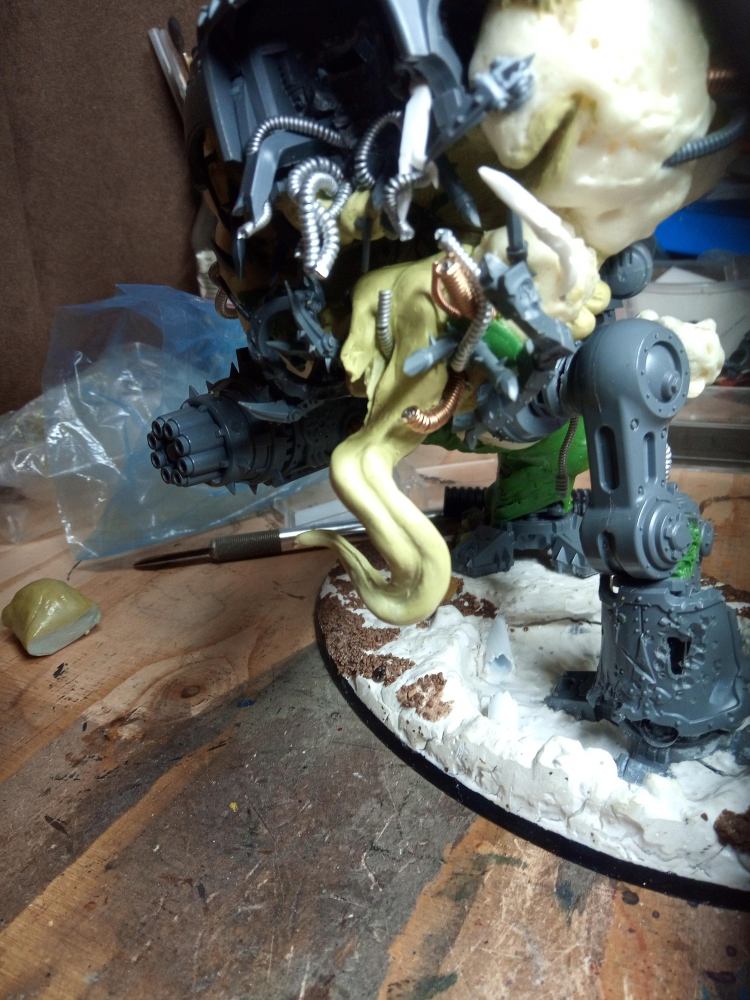
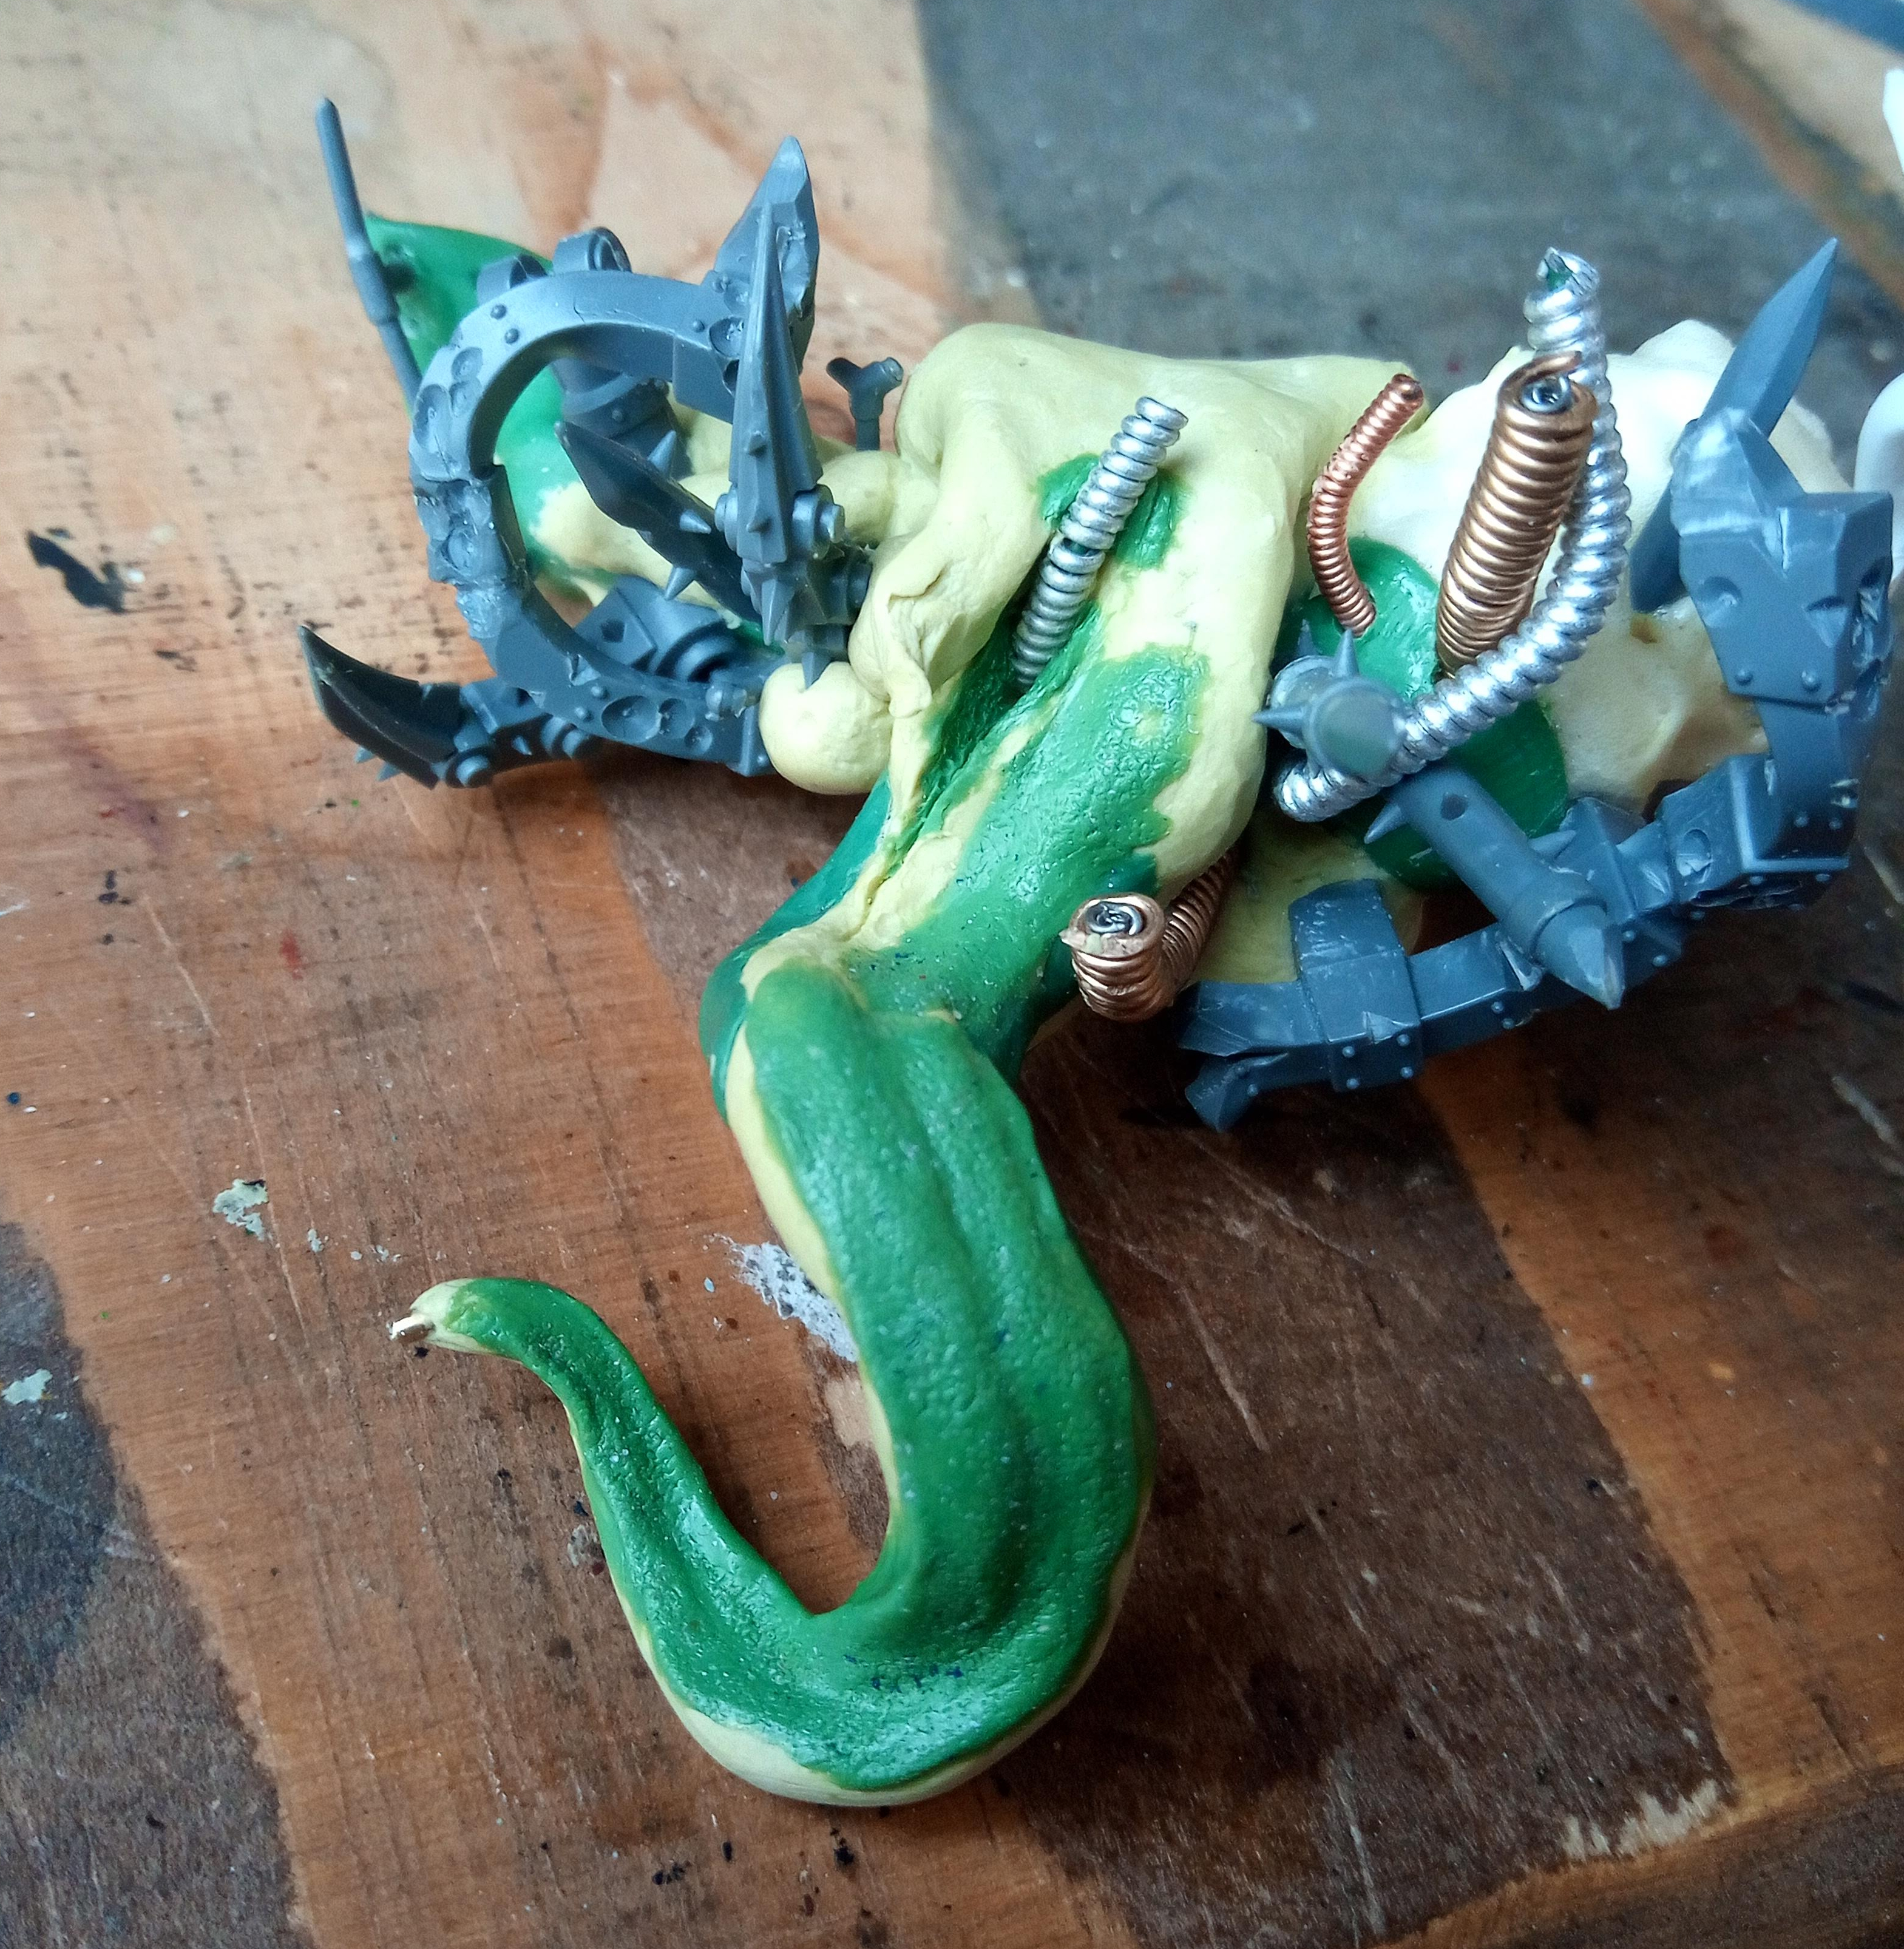
At this stage I still wasn’t satisfied that it read as a mouth, more just a sort of vague hole with a mess around it. So… how do you make it a mouth? I’ve already added teeth, but they aren’t enough like recognisable teeth on their own… but I hadn’t put a tongue in yet. I do have some experience with tongues, so this was just an opportunity for some more fun.
So first of all I want to pick where its going and what sort of shape it will take, so I glued in a paper clip and bent it around until it was where I wanted, before cutting the end off.
Next, bulking it out with Milliput to be the aproximate form its going to be, but aiming for generally slightly undersized ready to take a layer of green stuff for detail.
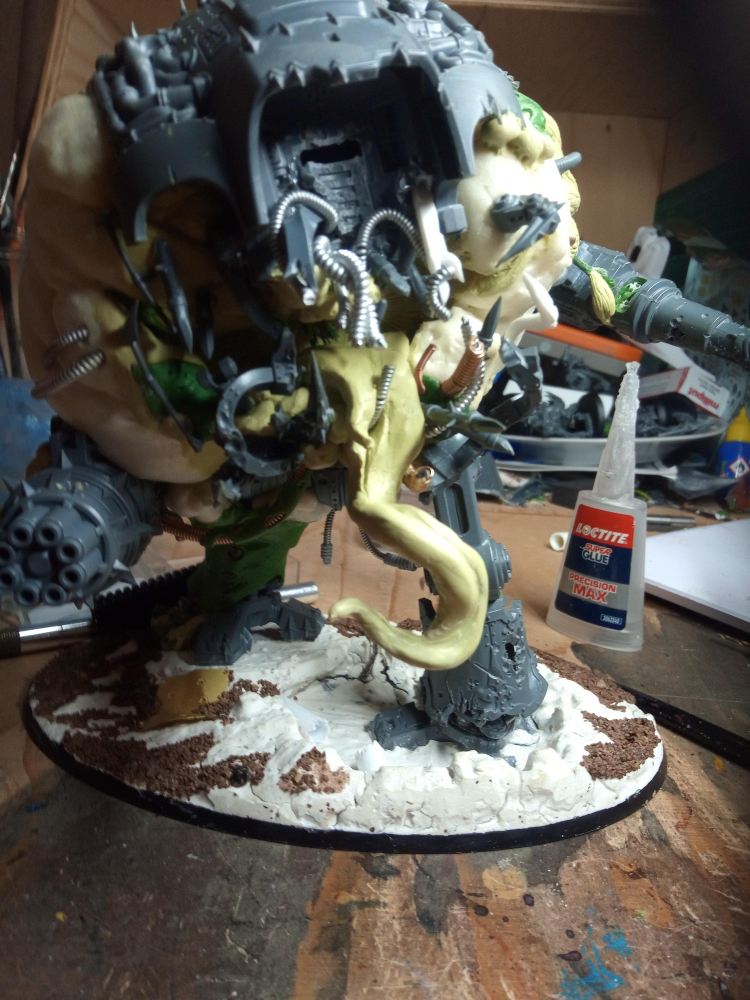
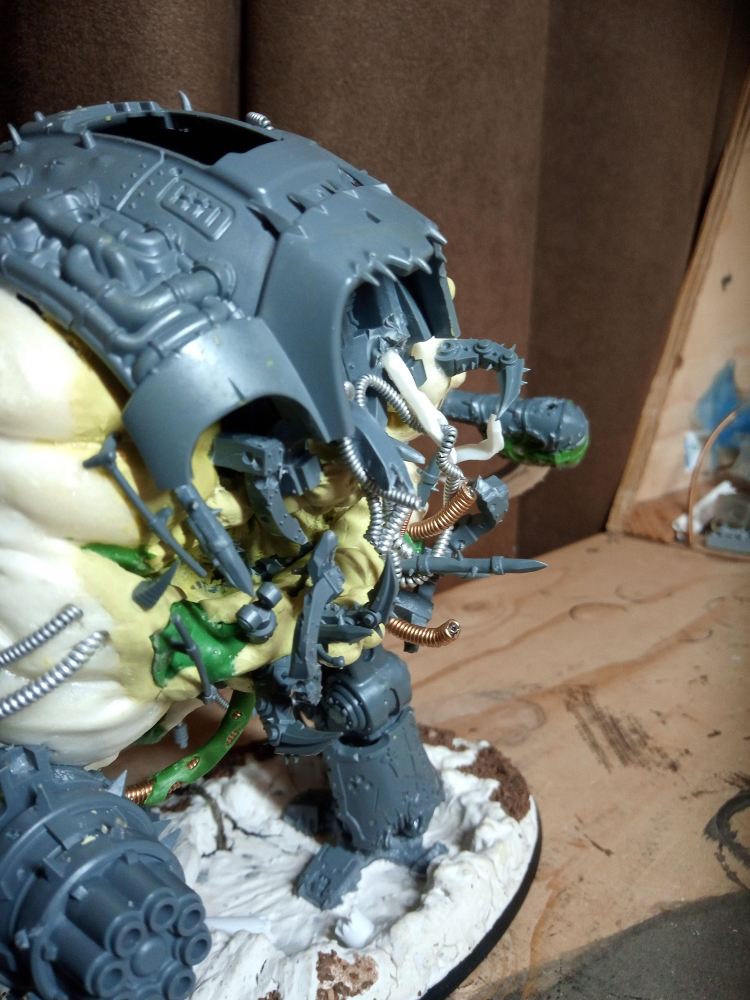
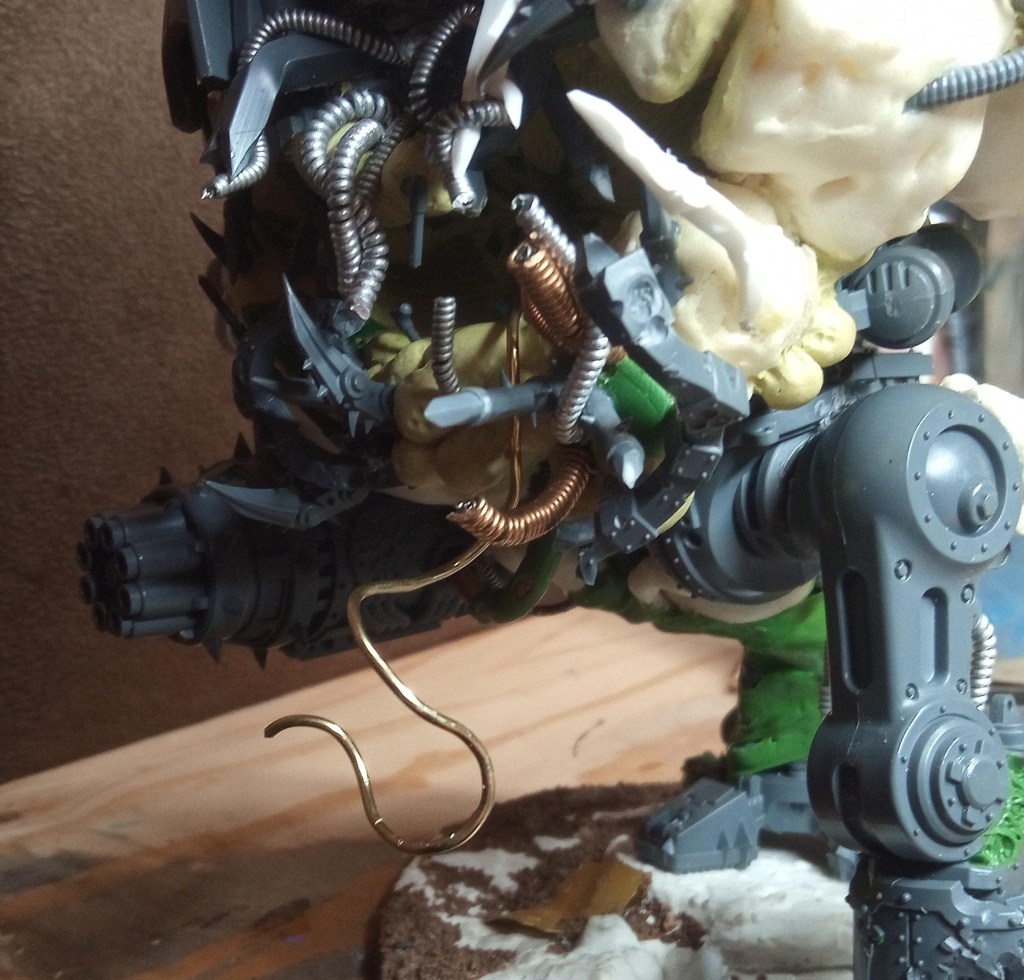
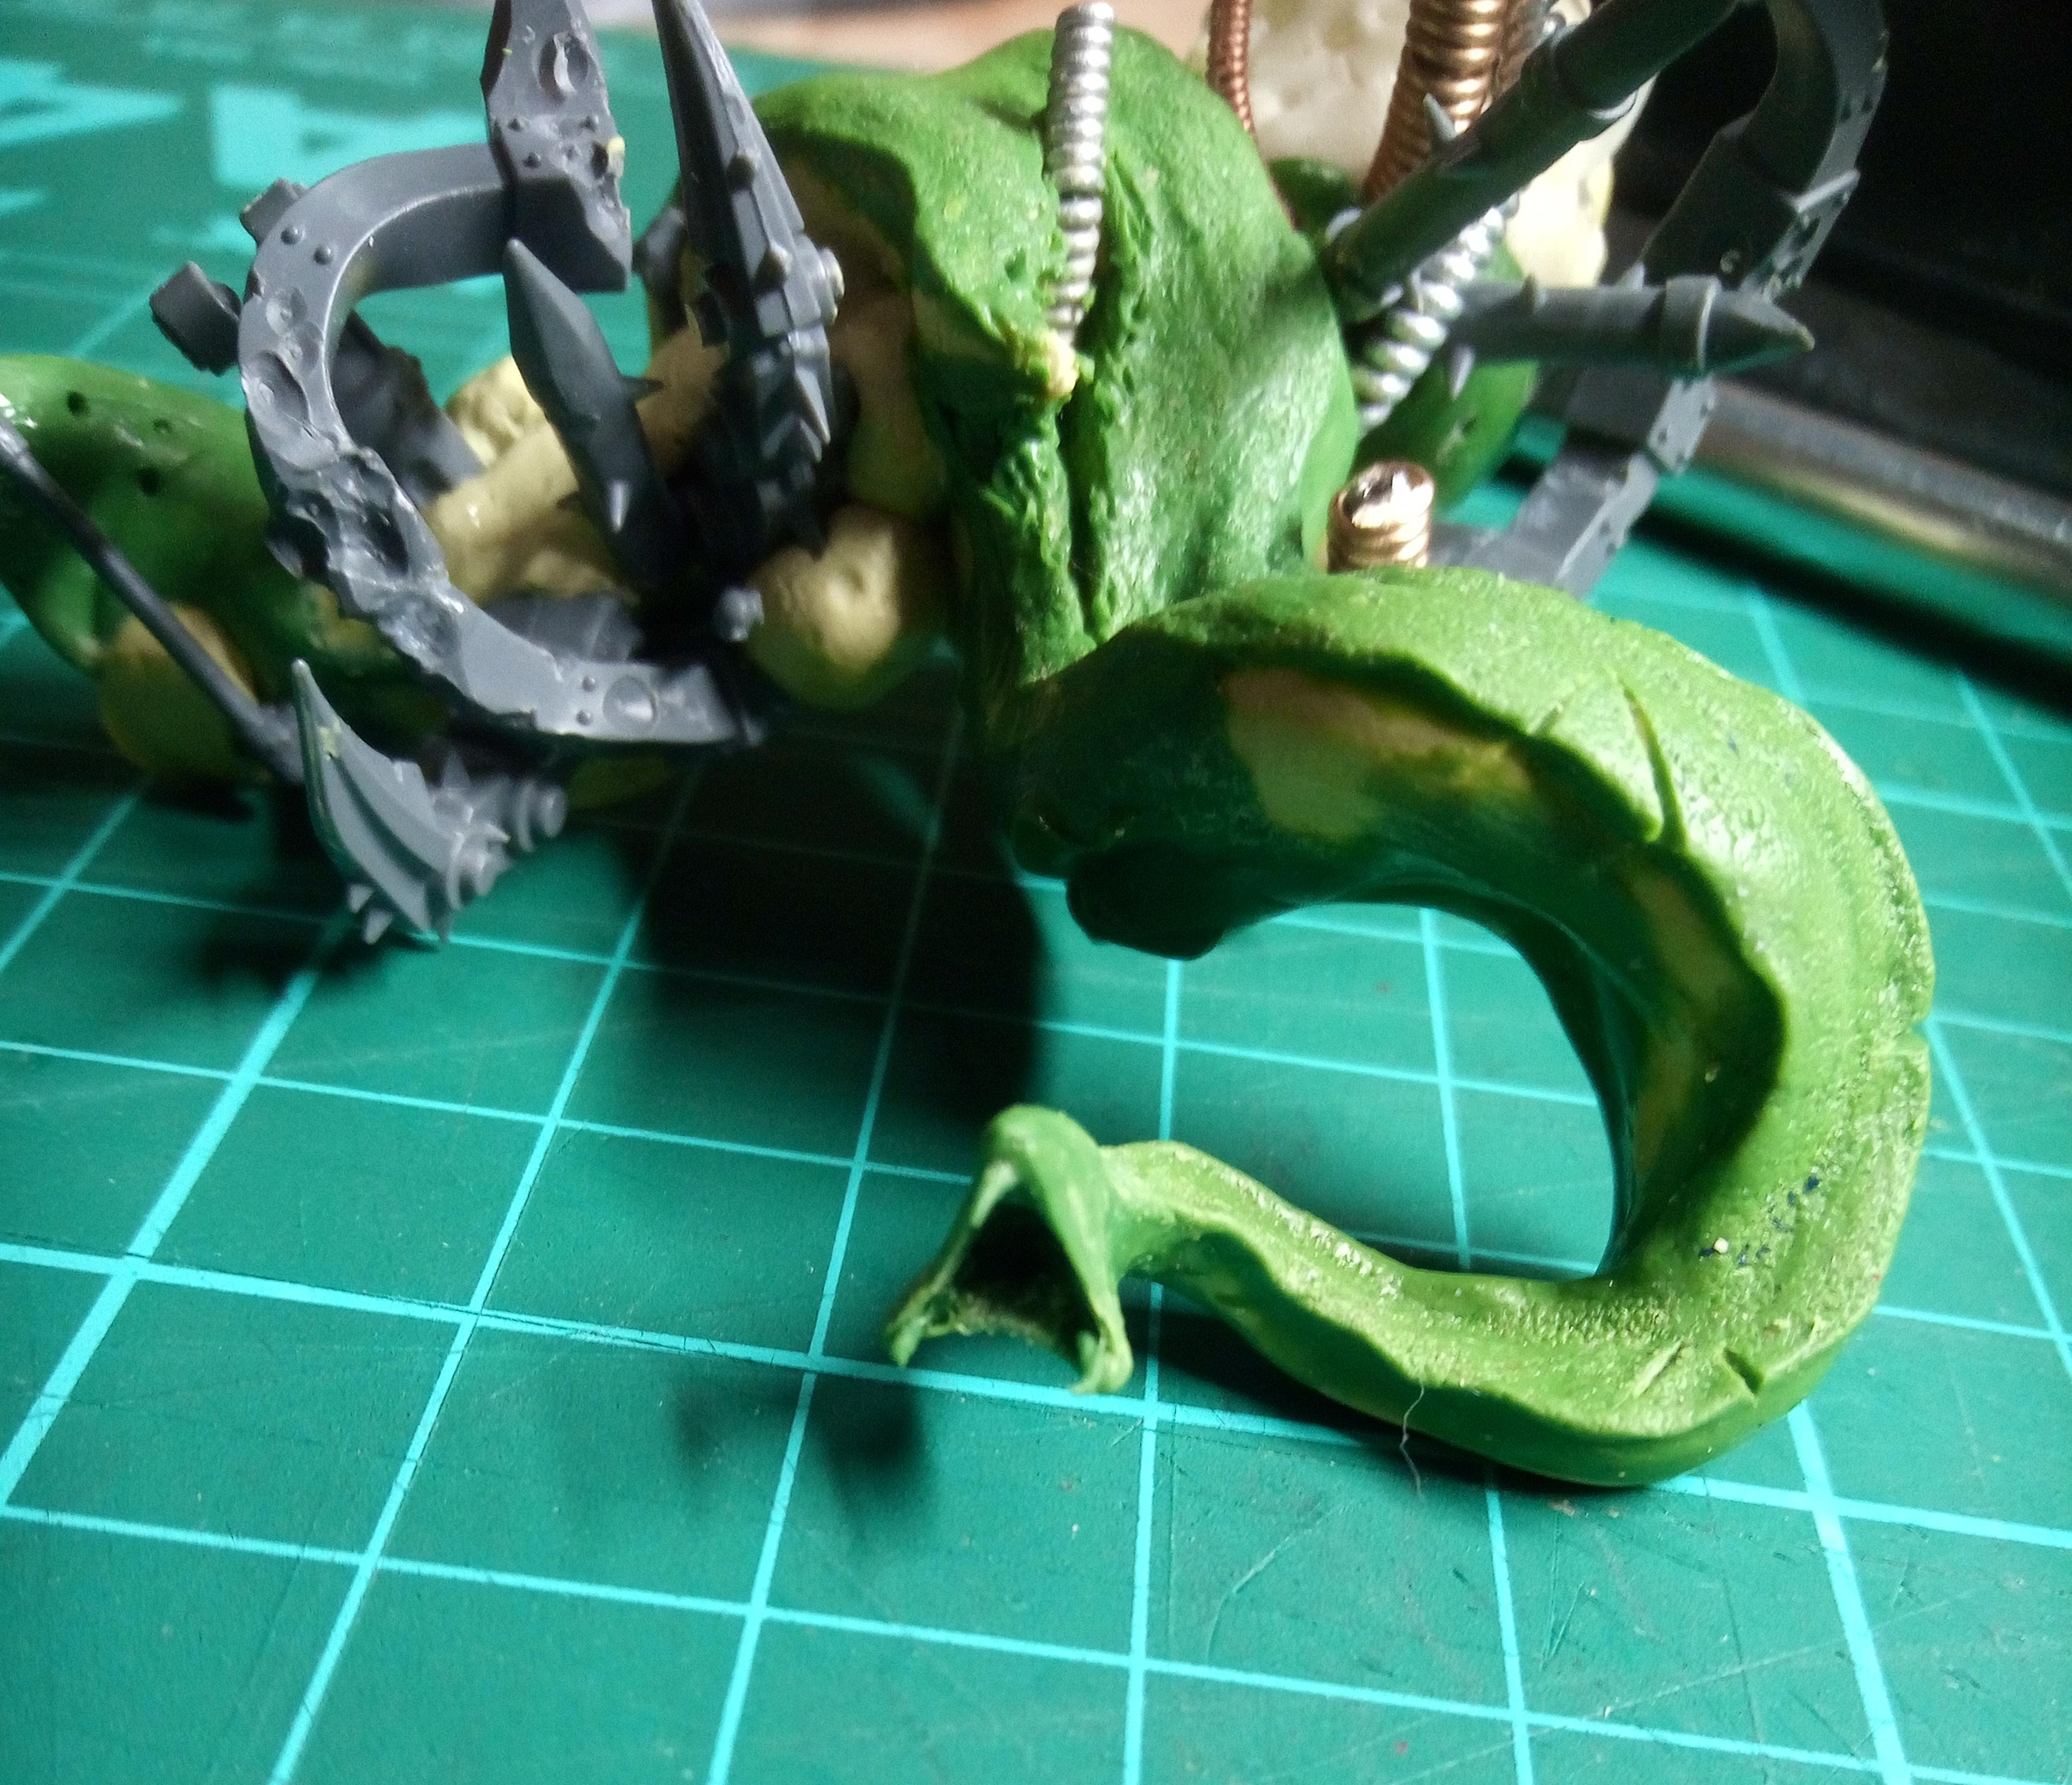
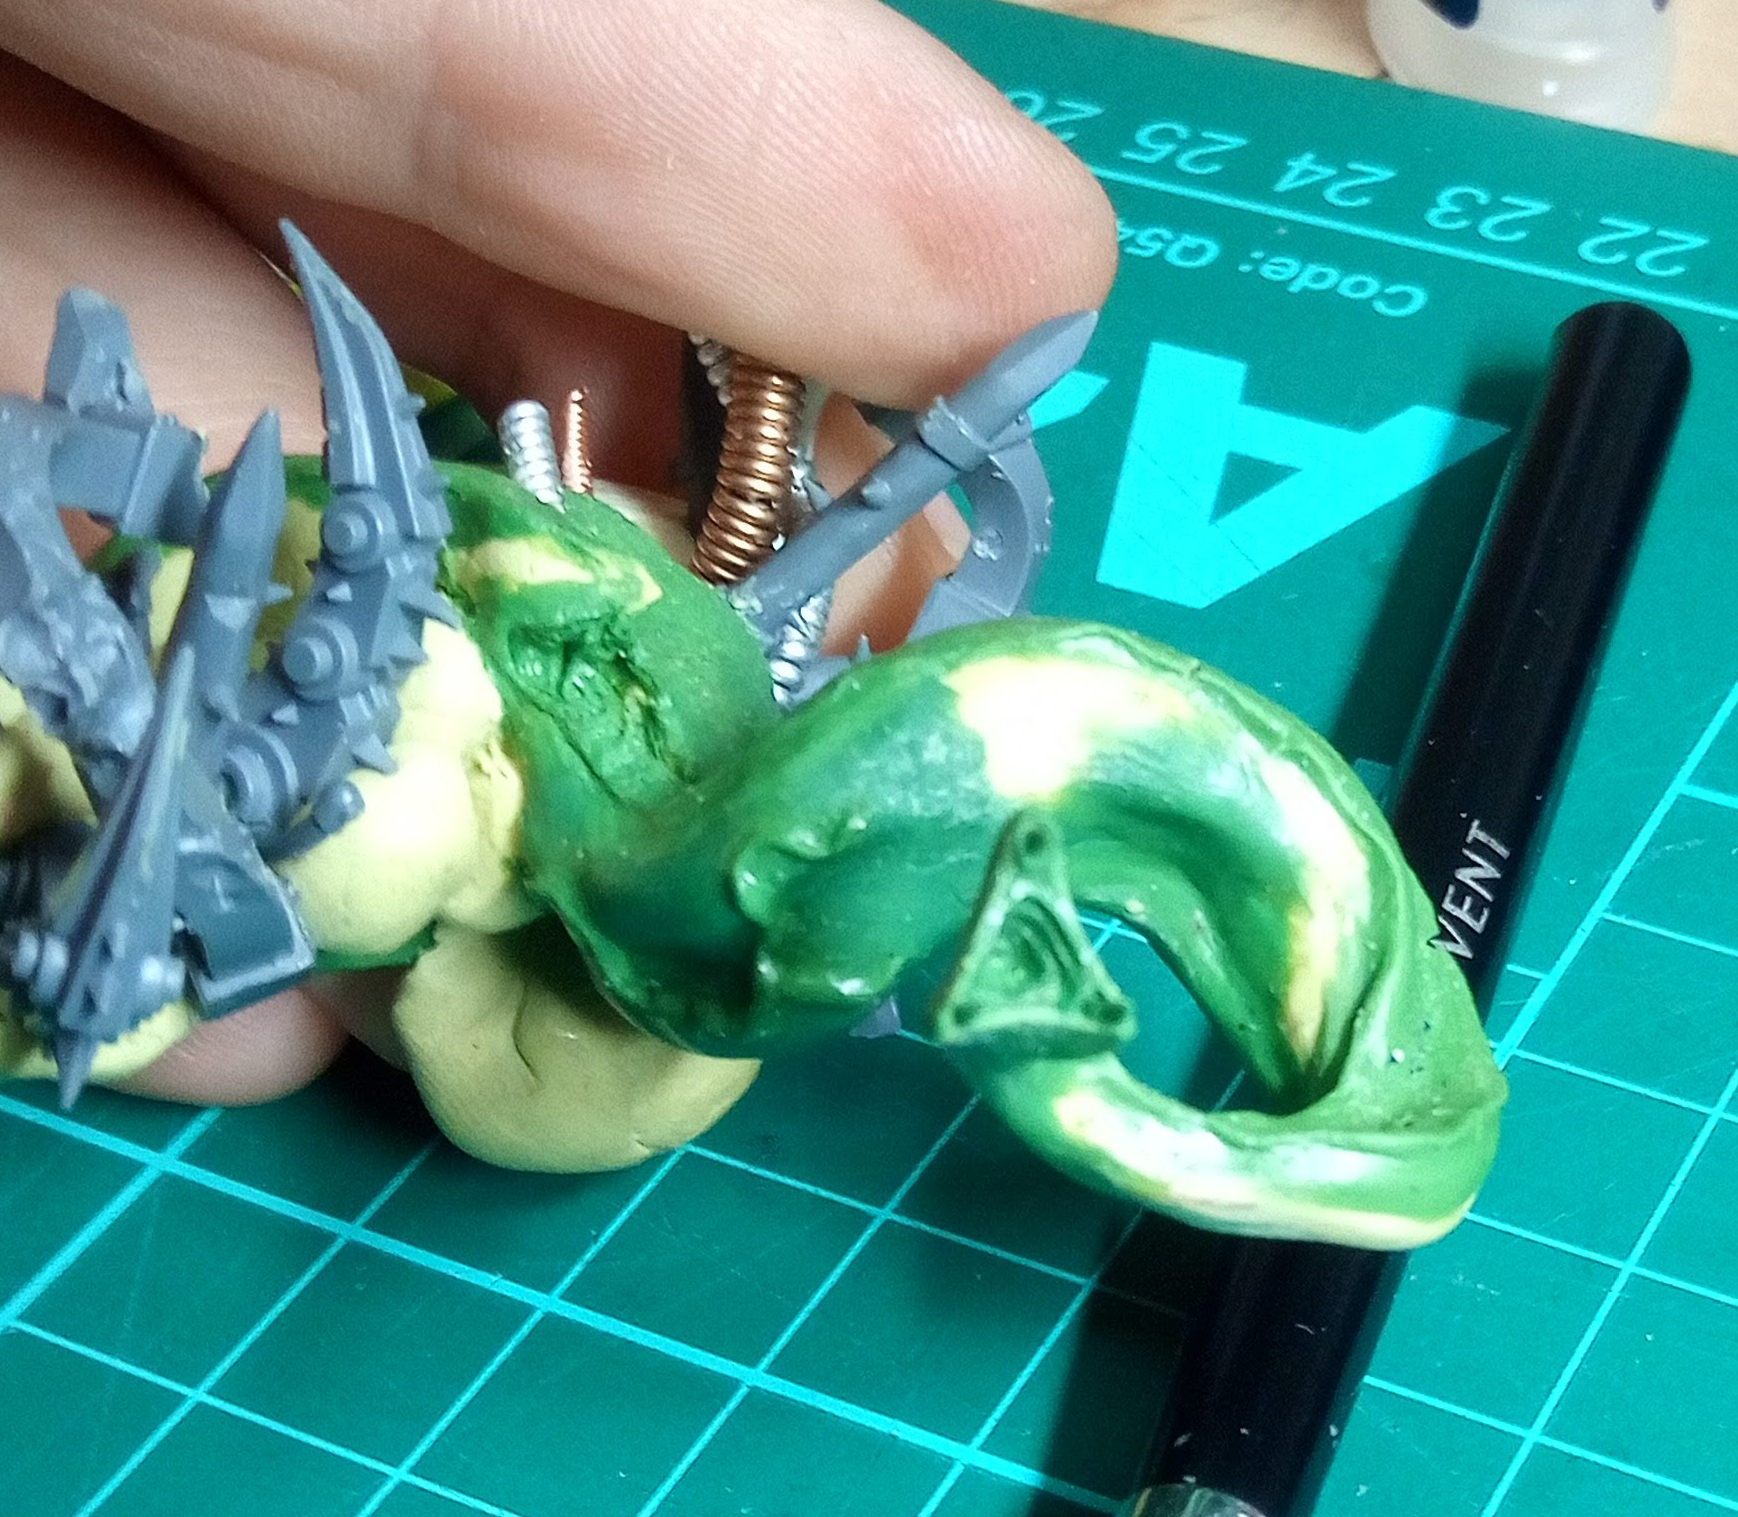
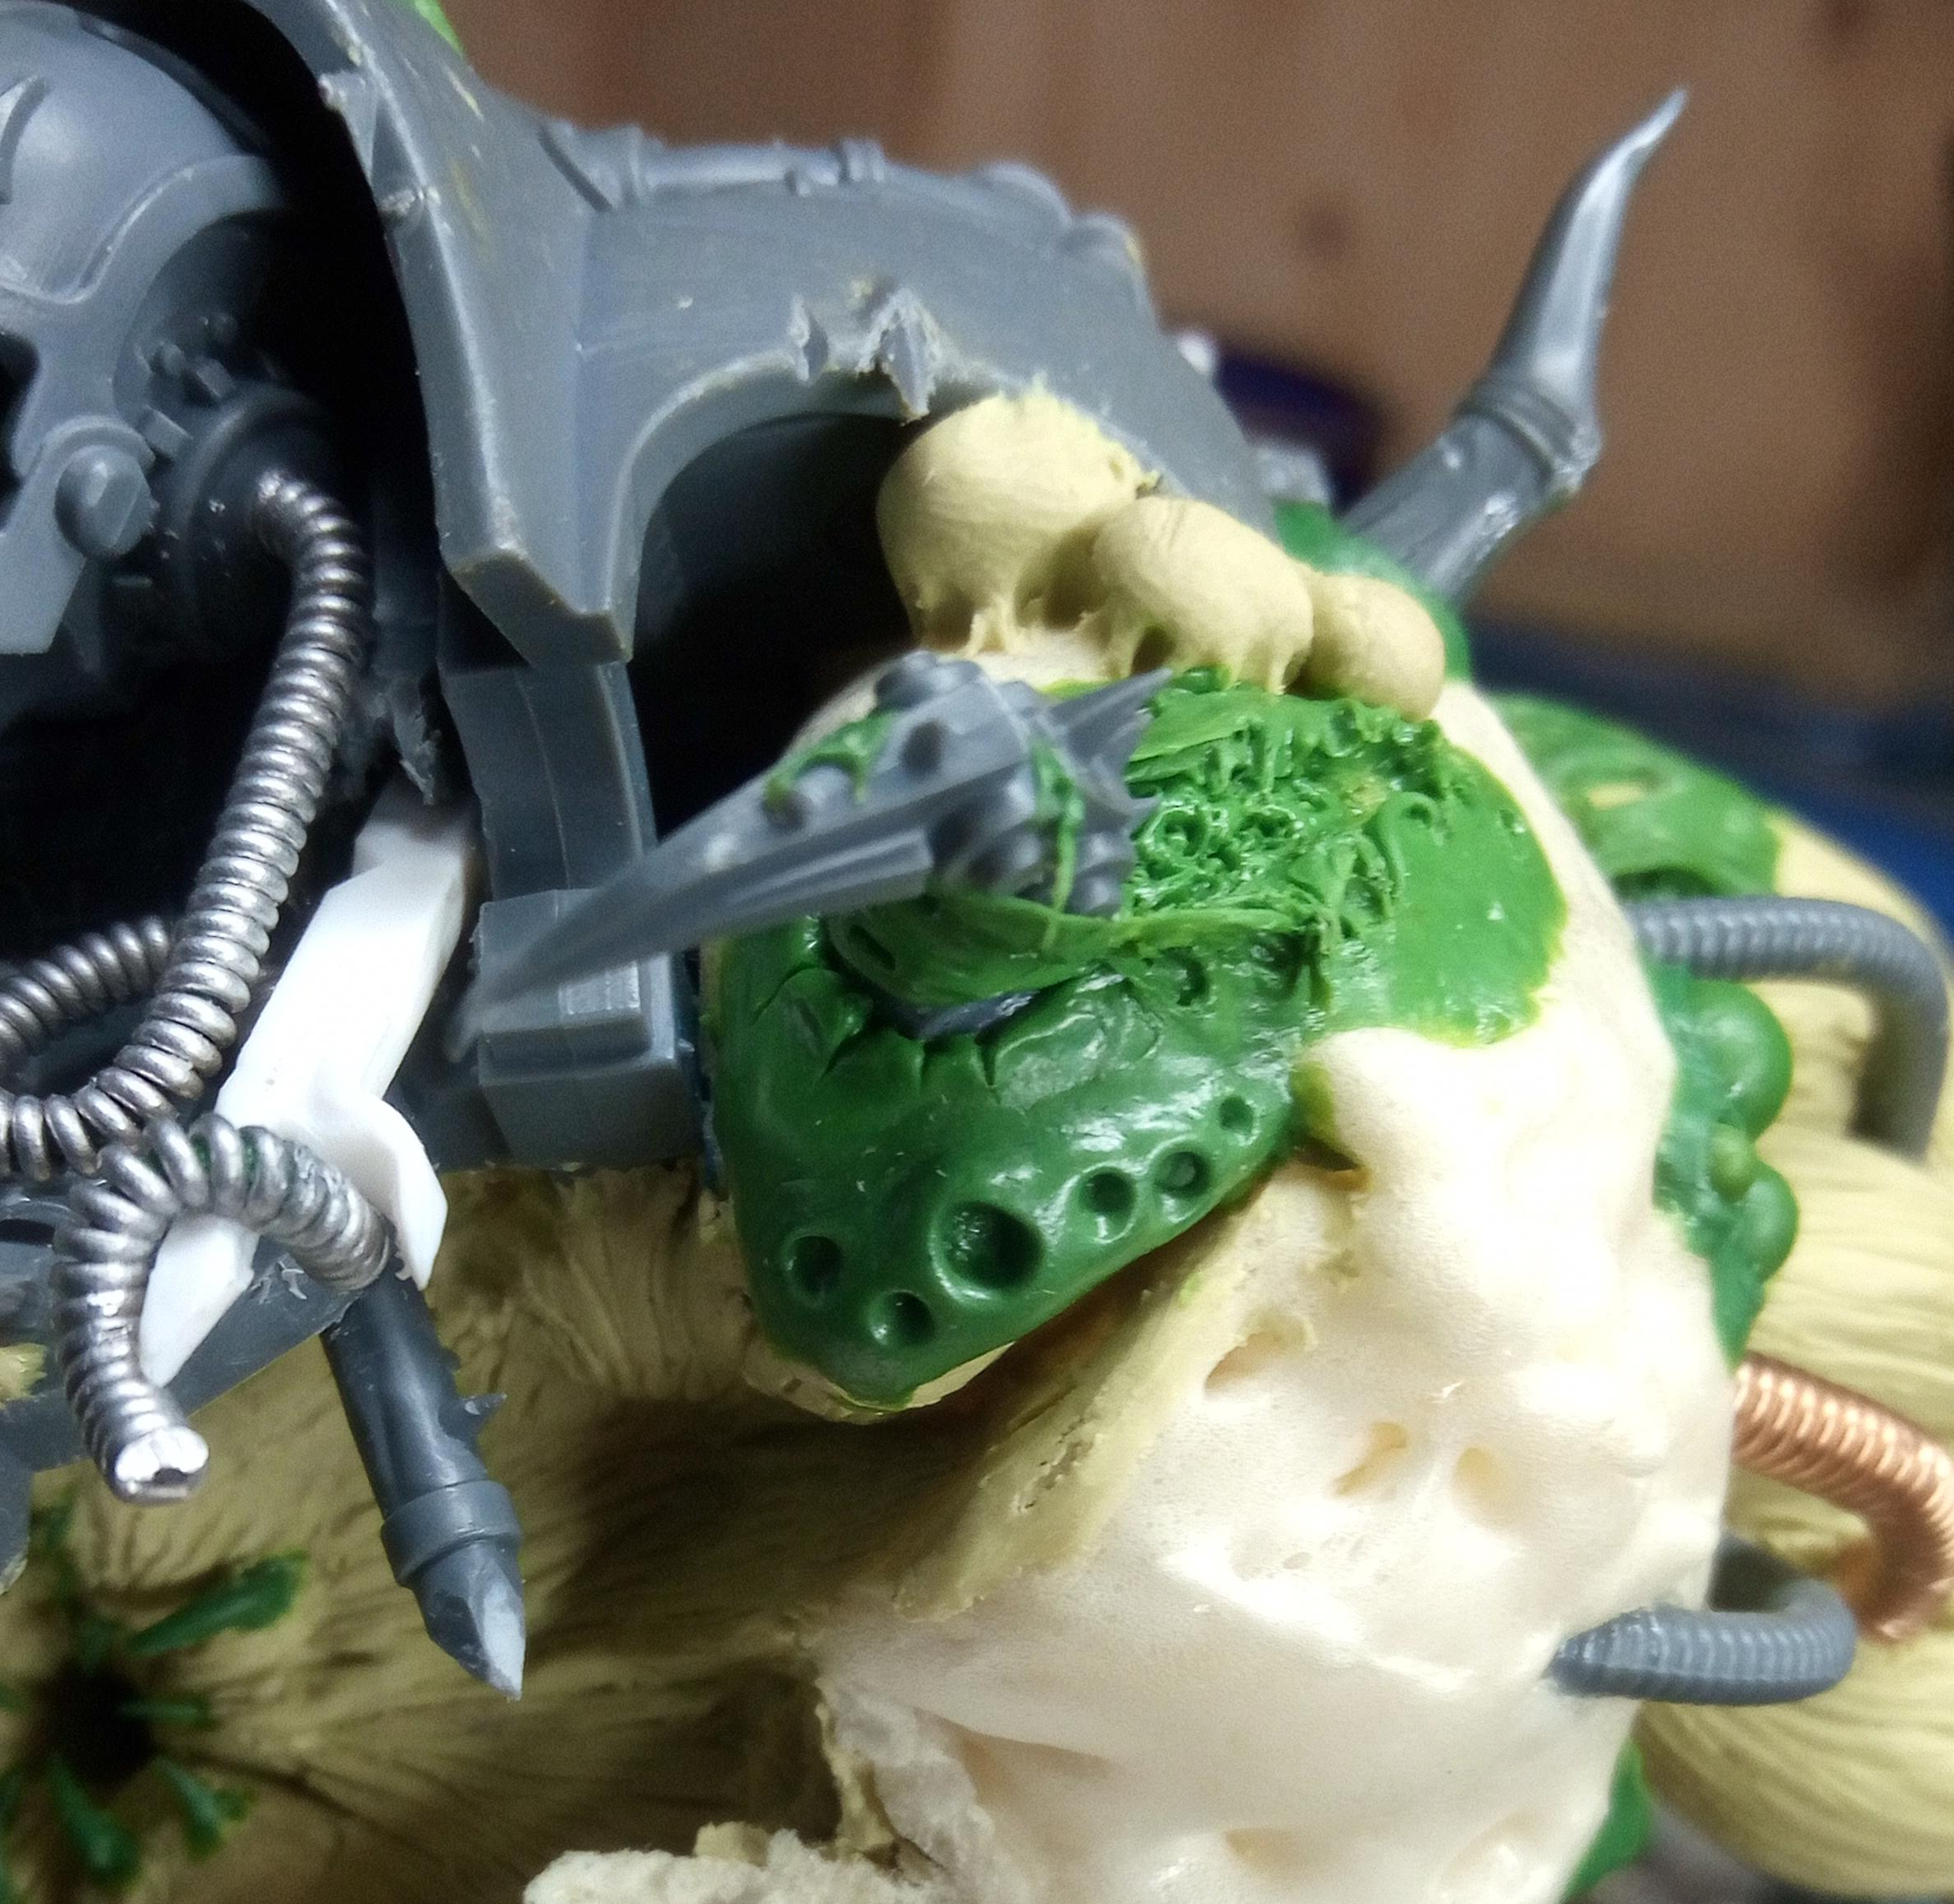
The next step was to add detail to the tongue. First I added the the ribbon of tast buds over its surface. I was inspired by a sort of upside down slug sort of look to give it those edges that clearly defined its surface. To make the texture, I just took some spare foam from a carry case and pressed it against the Green Stuff while it was still soft, using a tool. Once that had all cured I then put some gashes in it too, after all this tongue is tangling out of a jagged mouth and is on the front of a war machine… its going to be rough around the edges. Finally, I wasn’t sure what I wanted to do with the end but a point just seemed too… Normal. So, I thought of the triangular little mouth. I like the idea of this prehensile tongue that can grap people and pull them it to be swallowed whole(ish).
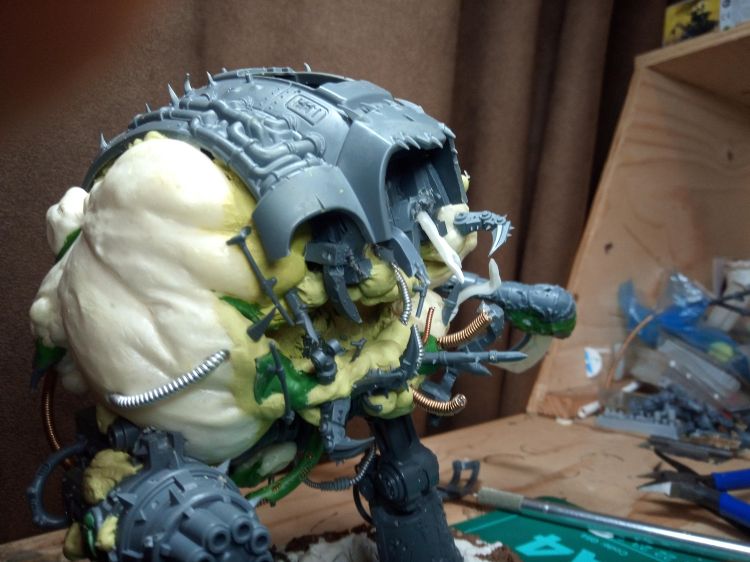
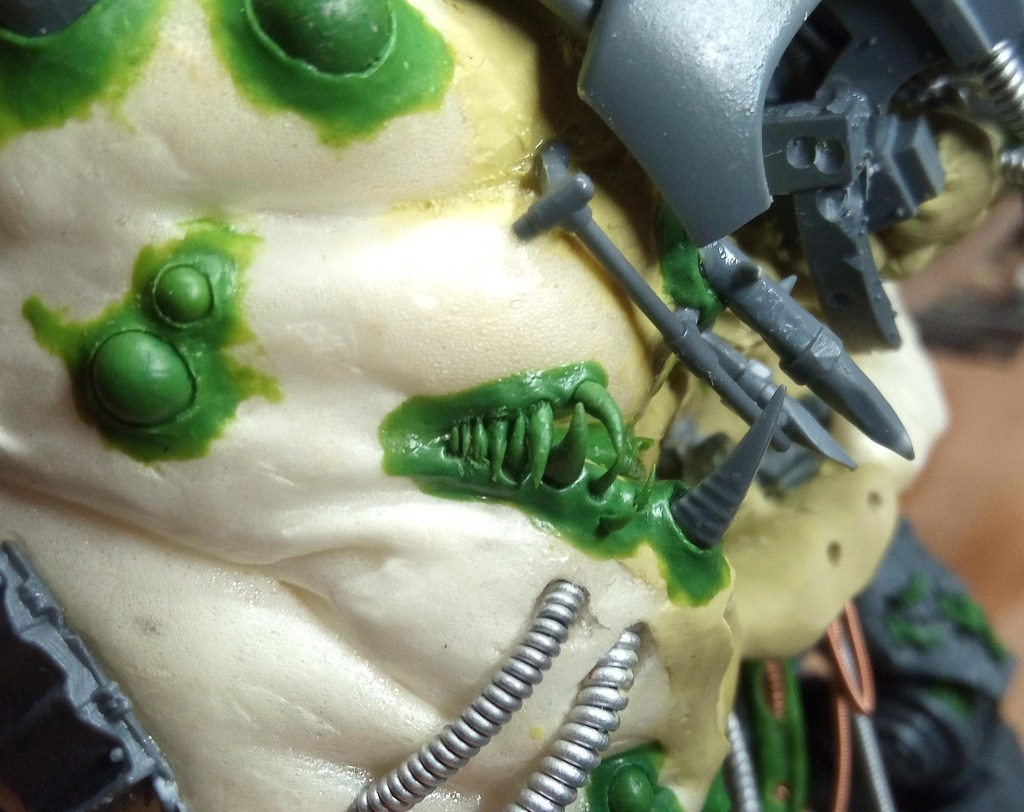
Here thought another method to make the mouth look even more mouth like would be to actually add some vestigial teeth to the corners of the mouth. On the left side I popped in some sockets and added some classic narrow cones of Green Stuff to make little curved, creepy monster teeth. you can see where I started adding the sockets for more teeth on the other side and a reasonable photo of the mandible. This is another one of those fun details, I had already put a few of these on the lower jaw (they are fingers from the chaos gauntlet), but I thought it would be cool to have one that looked as though it had JUST torn out of the flesh.
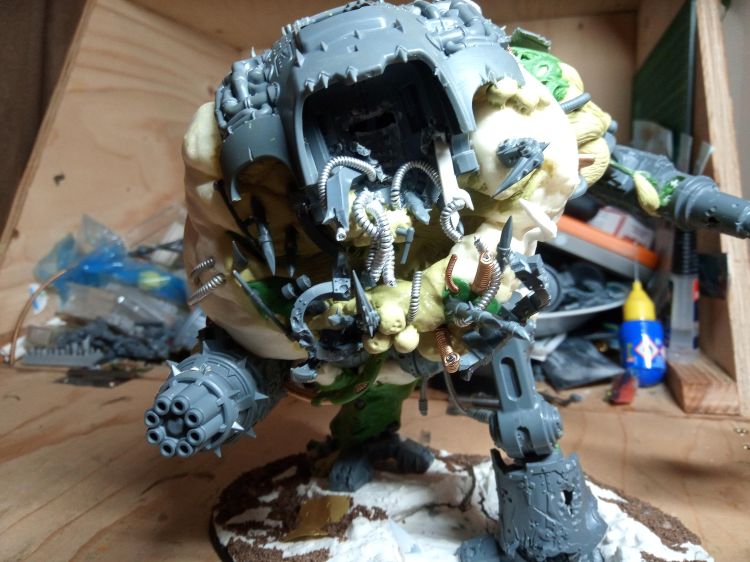
I had a lot of fun with the right side in general! I looked up some reference and decided to throw on some HUMAN teeth. is this part of the pilot being absorbed and digested? is it just someones nightmare made manifest? who knows… but a lot of people were certainly uncomfortable so I was very happy with that. I sculpted the ones on the top jaw first, then carefully added more to the bottom jaw (replacing the jaw each time to make sure they fit) to bridge the detail between the two parts (lower and upper jaw). Essentially I wanted to minimise the difference between the two parts to make the seem less visible.
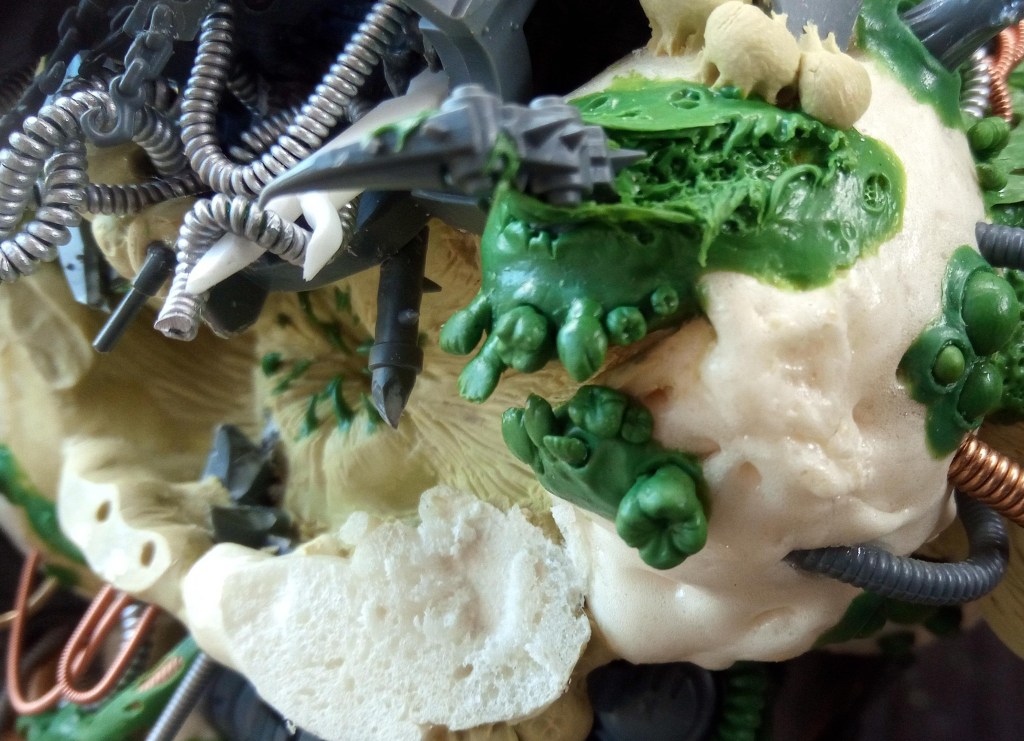
I sort of gave it a cheek too, that area where your mouth is pulled into your cheek at least. because I wanted it to look like it was smiling, after all my understanding is that Nurgle’s minions feel blessed by his gifts, that’s why all the plague bearers look so happy! Also if a war machine, twice the size of your house started smiling at you… you would probably know something bad was going to happen. I wasn’t happy with how smooth that bit of Green Stuff was though so I cut into it and added some exposed muscle. You can also see here me trying to bridge the two separate parts by adding more organic pointed teeth on the lower jaw.
…and then that was pretty much it!
Please ask if you have any questions or feedback about this part of the build or in fact any other part, I’m gradually adding links to the original post with the final pictures in. I’d love to hear what you think about this, it will certainly be fun to see what paints and effects Krakendoomcool adds to this!
~Pandora’s Bitz Box~

Your greenstuff it’s so on point! Love it! I like the torn parts specially! Pretty cool that they were thought on the fly!
LikeLiked by 1 person
Thanks! Yeah I have to make it up as I go along because I can’t know how well the composition of things will work until I have put them there.
LikeLiked by 1 person
Amazing (green) stuff!
LikeLiked by 1 person
Thanks! 😄
LikeLiked by 1 person
That is great- wonderfully disgusting. You are really getting good with the putty work.
Cheers,
Pete.
LikeLiked by 1 person
Thanks Pete! 😊
LikeLike
Flippin’ amazing work mate – now I just need to erase the term “toothy throat anus” from my memory…
LikeLiked by 1 person