Recently we were asked by The Golden d6 online magazine, if we would be interested in contributing content for them, specifically tutorials or some sort or another. So here is my first effort to see if I can help out the community some way with my first tutorial, covering basing.
Now I don’t know about you guys but for most of my bases I just throw some PVA onto the base and sprinkle my basing material onto it. Nothing more than that really. What this tutorial will cover is the few times I’ve done Minis where I want to make them look heavy, so generally speaking we are talking robots and monsters, but there is no reason you couldn’t apply these methods to make a tank or truck look heavy, or even just get ideas for things you can add to a large base to break them up a bit. If you want to see a tutorial on infantry bases, Warbringer has done one here.
The Tutorial
1.
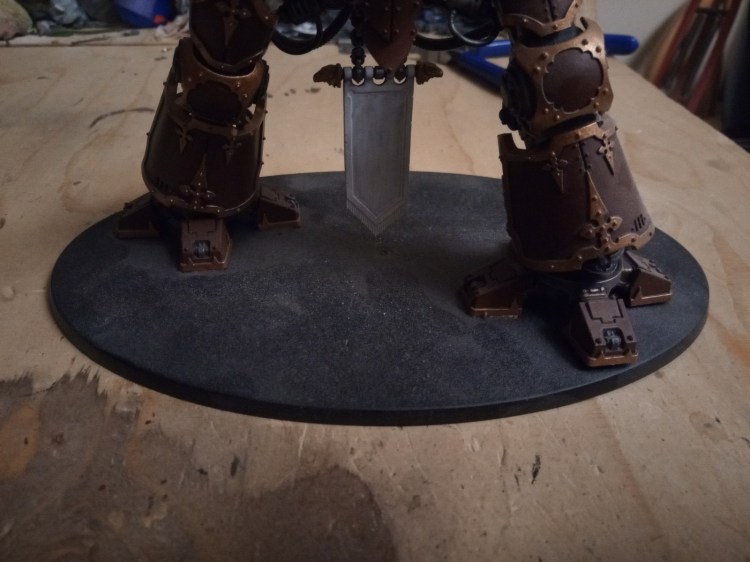
For a start we need base to work on. I picked an Imperial Knight base which would allow me to easily demonstrate all materials in use.
2.
Next we are going to need some materials. I have a pot of grit of varied grades that I used on all of my bases. Get grit of specific grades from hobby shops… or more natural looking grades of grit for free down by a river bank. Mine has both.
The other more specific materials I have here, I use to try to demonstrate the weight of the big robot. You don’t need these particular ones but how I use these will give you an idea of what you can try to do with what ever you can put your hands on. I have…
A roll of high density foam
A plastic “I” cross section rod
A roll of cork


All of these are readily available on Ebay, but I got my plastic rod from a local hobby shop. I recommend this if possible as it probably helps to get an idea of scale as they come in a variety of sizes.
3.
To manipulate these things you’ll need some tools, not all of these are specifically necessary. I’ll discuss alternatives later, but here’s what I used…
A sharp Craft Knife
PVA glue
Super Glue
Heat gun


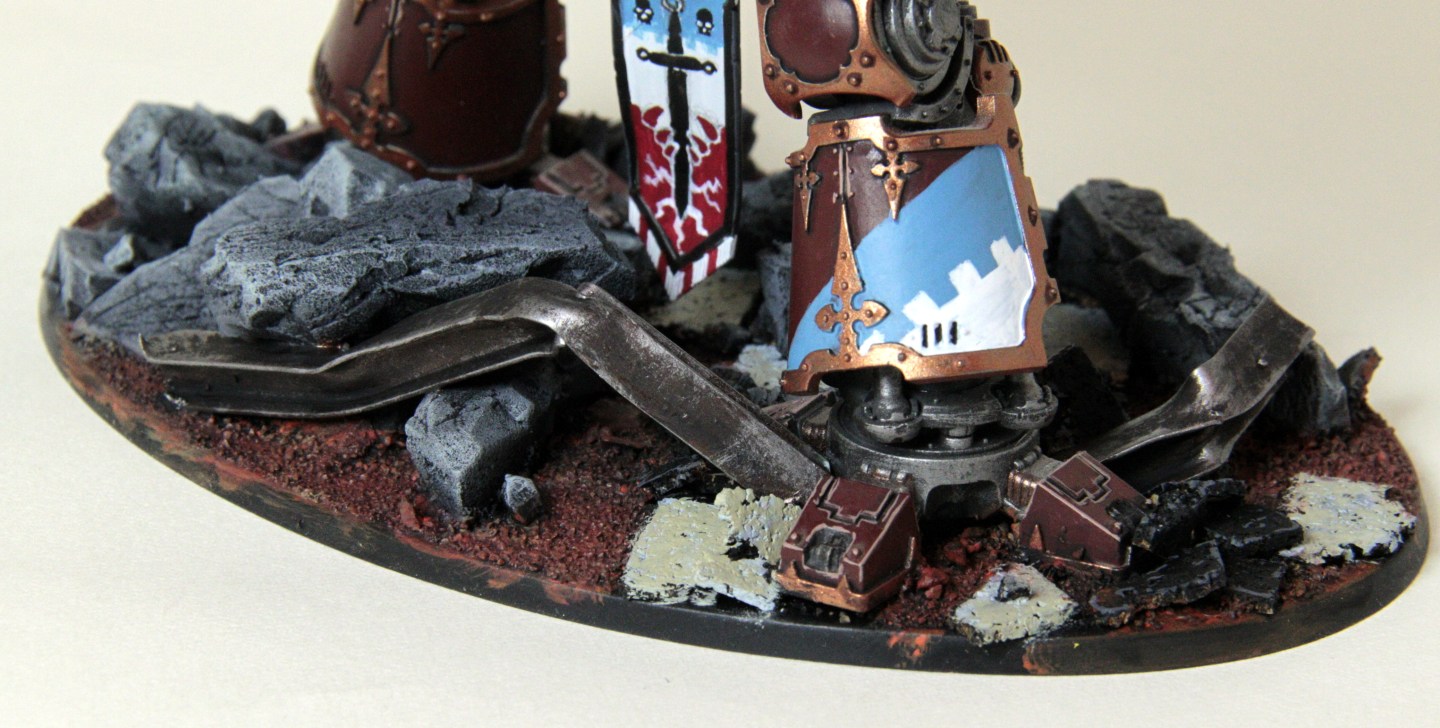
4. Using the craft knife and a ruler i cut a bunch of equally sized square to make tiles. I did these about the same size as some existing tiles on something else but you could do them any size really. These are used to make tiles or slabs
The foam I use to make large rocks, but in this instance I am trying to make slightly more uniform stones, as if a concrete wall has collapsed. To do this, I just cut a piece about the right size and then use clippers to “chip” away at the edges of the rock as the sharpest areas are the ones that would get damaged first. I also take chunks out of the flat surface and mark it with a knife. How little more much damage you do will give a feel for how long the wall/stone has been lying there getting damaged. I also cut this piece at an angle to make it appear buried in the ground.


5.
I then used the super glue (just because it is so fast acting and wont warp the cork) to glue 3 of the tiles down, neatly arranged. This then showed me how to place the next tile that met one of the toes. This is the first example of creating the illusion of weight of the knight by sticking pieces of broken tile up against the toe and angled upwards away from the toe. This is to simulate the unseen parts of those pieces being pressed into the ground.
I also start to arrange the large slabs on the base. I also used super glue for this. It only take a couple of blobs, sticks almost instantly and is very easy to remove if you want to replace it because of the tiny contact area.


6.
This bit is slightly more advanced but does give a pretty good effect. The plastic rod will be a large steel girder that has been smashed into the ground and the bending of it gives an interesting contrast to the snapping and crushed stone.
I cut the plastic in half and trimmed the edges to a point so that they would fit quite snugly against the edges of the Knights foot. Using the heat gun (which is like a high powered hair dryer with more control), I warm bits of the “girder” and buckle it. The plastic becomes very soft and is extremely easy to manipulate. You will even need to be careful not to heat it too much as you just want to bend it, you don’t want to swell, bubble or burn it.
I know that a lot of people wont have a heat gun, but what you could do is pre-bend the plastic carefully over a hob or some other similar source of indirect heat. Its not as convenient but would still work. (If you work with this kind of plastic or resin much, I cant strongly recommend a head gun enough, they are amazing for bending and adjusting these things with control)


As you can see I’ve also by this point started to add more broken rocks using the exact same method as previous, but I’m making sure I place smaller rocks nearer to the food as it would pulverise the material it stood on, leaving only fragments around it. The tiles I have added are all broken, this give a much more natural transition to the rest of the base to give the impression that there are a lot more tiles but they are all buried or broken.
7.
Once I finished adding tile debris, I continued to add broken and piled up stone. The main reason large bases can look odd is because they are so flat, the larger the base, the obvious the unnatural featureless level of the base is obvious. We cant lower the level of the base to make holes but we can raise areas, large rocks and debris are a good way to do this.
I also noticed that after bending my girder, there was an upward bend that looked nice but felt like it didn’t make sense. So put a large stone across that bend so it could have fallen on it or pinned it while it was stood on by the Knight.


8.
Once I’ve finished adding all the main large features, I want to start scaling down the basing material. Having only large material on the base is as bad as only having fine material, you lose the reference point for scale. So its nice to use material of every grade up to the largest pieces appropriate for that size.
So using PVA I used some of my larger natural basing material to scatter around the base and especially around the foot crushing the stone.


(I used some Games Workshop stones from a basing kit that I had as a present one year, but you can easily enough collect these kinds of stones from a river bank and run them through a sieve or colander to separate out the sizes)
9.
The final stage before painting is then covering any bare plastic base surface with your “go to” basing material. Mine even has some of those slightly bigger stones in which helps it look a bit more natural and blend in to the other use of stones.


10.
Finally you paint it! For mine, I used a classic martian style red dirt, did my rocks grey, checked tiles and tried my best to paint up a word metal girder. Although this isnt a painting tutorial, I do think its worth mentioning that picking some colours on your base that not only contrast with your model but with other features on the base, really help pick out those details you worked so hard to create.


So I hope that at least some of you might find some of the examples of tools, materials and techniques I showed here useful. There are so many more things you could add from wire form mesh as fencing to twisted wire or paperclips sticking out of the stone to make it look like reinforced concrete. More importantly, what I was trying to go for here was show how to give illusion of weight to the model. I’ve done this a few times with varying degrees of success… but generally speaking they are received well.
So have fun with it, don’t worry about it too much, because you can always just break it off and start again… the remains of your last attempt might even add to the effect! If anyone has any questions or their own ideas to add, please tell everyone in the comments, we’d love to hear them.


~Pandora’s Bitz Box~

Awesome! Great tutorial – easy to follow and very clear.
LikeLiked by 1 person
Thank you very much! I’m not really used to writing tutorials, it’s only my second
LikeLiked by 1 person
Very useful tutorial- thanks for posting.
Cheers,
Pete.
LikeLiked by 1 person
Thanks man, I hope some people find it useful at least. It wasn’t trouble to write. I never really thought people would care what I had to say. 😄
LikeLiked by 1 person
Great tutorial here. I think I’ve probably got to finally go get a heat gun at some stage.
LikeLiked by 1 person
Man, get one. They don’t cost the Earth and they are awesome. If you have a resin model it makes resetting the bent parts and absolute doddle and as you can see with this plastic stuff it gives you so much freedom to manipulate them.
LikeLiked by 1 person
Yeah. I live so close to a hardware barn that I can literally just go and get one the moment I need one. Assuming it’s between like 7am and 9pm, and I have the cash to hand. Once I get onto some of the FW stuff, It’ll be a done deal.
LikeLiked by 1 person