That’s the question I asked myself a few weekends ago. I’ve always loved watching the youtube airbrush tutorials and felt envious I couldn’t do the same.
I love the zenthial highlighting style but have struggled with rattle cans getting the same amount of control, duh I know right.
So I mentioned this to Krakendoomcool and being the upright gent he is, he offered me to “borrow” his airbrush and compressor and give it a whirl. (I’ve offered to buy which has now been declined)
I graciously took him up on his offer and thought I would do some research and write up a post on how I got on with the setup.
The Setup
So a pretty normal airbrush setup is as follows;
- Compressor – This is a piston type
- Receiver – Stores the Air
- Air Hose – Transfers the air to the brush.
- Regulator – Controls the pressure (PSI/BAR)
- Air Brush – Takes the paint and allows it to be atomised by the air that goes through it.
This photograph shows the setup Krakendoomcool has lent me.
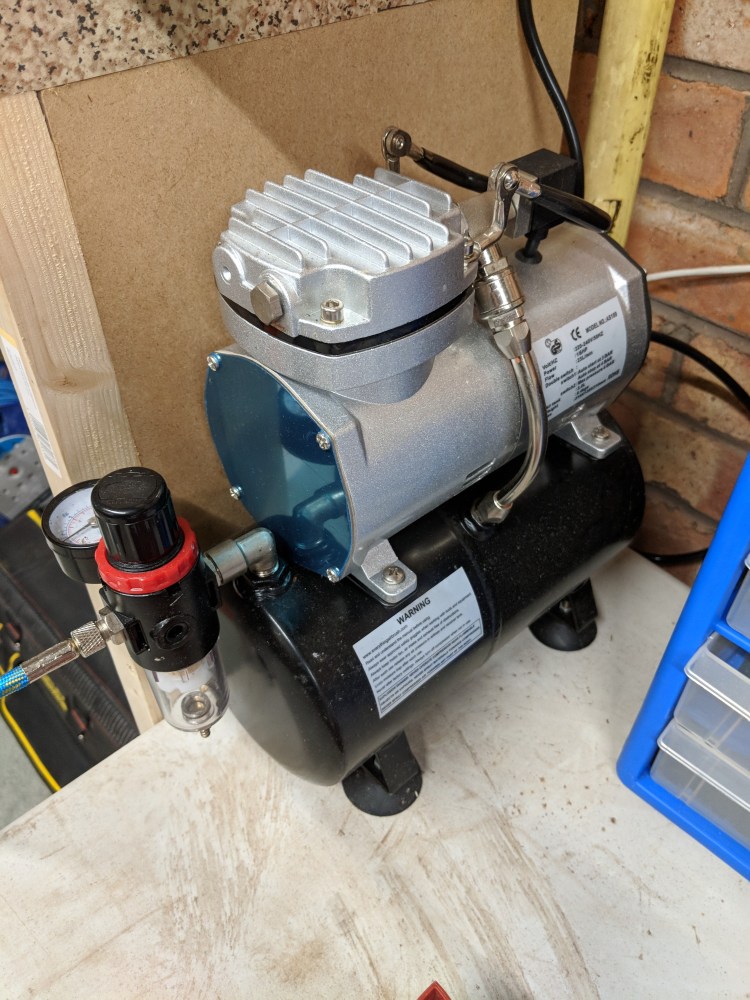
So It’s fairly straight forward.
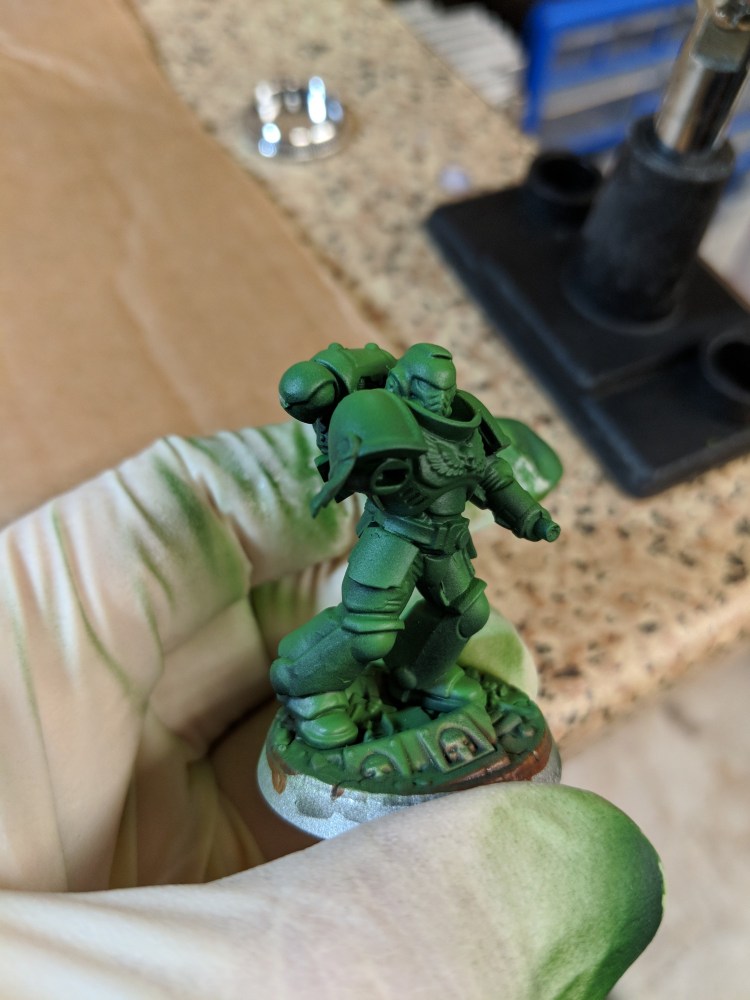
I’ve sprayed my first model trying to get a semi zenithal style and I feel I’ve don’t a pretty good job. It uses more paint than I thought but I think that’s because I’m using Vallejo game air paints, they are pre thinned to allow them to be used with an airbrush. They are absolutley brilliant and make it so easy to control.
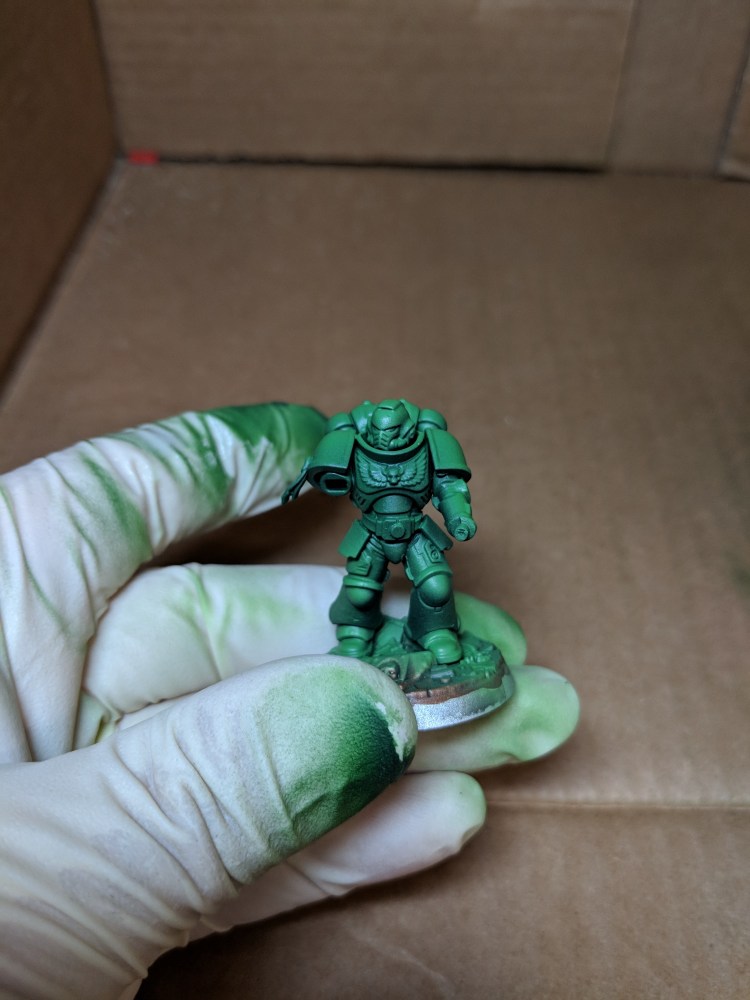
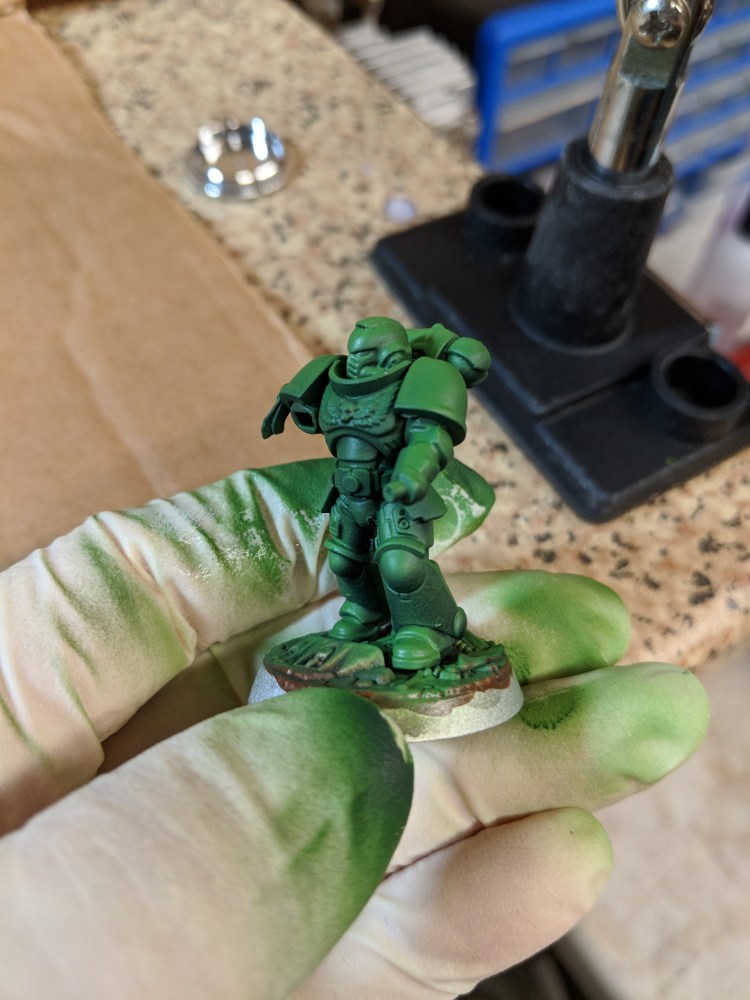
My initial thoughts are that using the game air paints is great straight in the airbrush no need to worry about thinning, using the thinner from Vallejo is also pretty easy though I’ve found that for 8 drops of paint to 2 drops of thinner works well.
Tips
- Get airbrush paint
- Get airbrush cleaner and use it
- Use a spray bottle with water to clean cup.
- Wear gloves
- Have a light to make viewing everything easier
- Have somewhere to spray into/onto
- Use around 20-25 PSI
Thats it for now, its easier than I first thought but is finicky to get it right with managing the air, amount of paint, direction, model distance, angle of spray and air pressure.
SaveSaveSaveSave

Really glad to see ‘use airbrush cleaner’. Ha! Although as I know the type of guy you are I wasn’t worried and thought you would actually look after it as good if not better than me.
Looking forward to seeing more progress with the airbrush in the future. I’m glad to hear it’s going well.
LikeLike
I’ve been priming with an airbrush for awhile now, and don’t plan on ever going back. After you’ve made the initial investment (ouch!), it really ends up worth it, for the no-bothced priming, spray anytime advantages. Looks like that is the same airbrush I’m using too. Iwata-Medea Eclipse?
Other than the cost, my only downside is that I have occasional hiccups at the start. I’ve learned to try and troubleshoot everything *before* dropping the paint in. I get irritated if I have to dump out paint, clean it, troubleshoot it, and then get started again. Even so, it’s usually a 5 minute detour at best. Way better than the time it took me to cleanup the garage, the last time I used a rattle can! 😉
LikeLiked by 2 people
Faust I totally agree I’ve got the changing colour down to a treat and use a water spray bottle to clean out the cup. Add a little in backwash the needed. Spray a little cleaner through and then normally I’m good.
It’s the iwata eclipse cs hp. I’m going to get a badger renegade krome as I’ve read good reviews and I can get one slightly cheaper. I spent ages reading about what to do with all the issues. I stripped it down before using it.
LikeLiked by 1 person
Stripping them down isn’t as difficult as I first thought. The issue I had for a long time, was my quick disconnect wasn’t tight, so the air pressure was too low. I felt really dumb when I discovered that.
I still run into issues where the pressure will start to drop over time. I think the needle is getting stuck or isn’t getting pulled all the way back by the trigger. I didn’t use lube when I first got it, and wish I had used that more now.
Yea, that’s the same airbrush I have.
LikeLiked by 1 person
Yes I’m lubing the needle every now and then and I also pull it out and clean it. I’m finding certain paints to have huge pigment issues. Red is a pain has so much more pigment than yellow or green. I need a quick release valve with an off on valve.
The hardest issue I had was the trigger valve would stick so have to strip that and clean the seals.
LikeLiked by 1 person
Hmm, stick and is in not move? Mine ends up having too much play sometimes and doesn’t seem to be pulling back the needle. Maybe I should look up trigger valve fixes.
LikeLiked by 1 person
It was actually just passing air all the time. The valve would stick and would be up. It was the internal valve in the end.
LikeLiked by 1 person
Looks pretty good to me. Sadly, and despite purchasing a setup, I think I’m mostly out of the airbrush game since the setup and cleanup times appear to be excruciatingly long, superfast drying time of the paint messed me up when I was doing it, and worst of all (and the final straw) was when the expensive Badger Renegade Velocity GF Airbrush R1V that I bought didn’t reassemble properly after I cleaned it -something something trigger springs were messed up – even though I was super careful when disassembling and reassembling it.
For *me* at least – way too much expense, time and effort for way too little gain. I’d need someone who was confident and experienced with one to come here and tute me through – YouTube videos just aren’t going to work for me.
LikeLike
I’d say I’d give you a hand. I had a few issues with the brush initially but once I had worked it out. Id be happy stripping the airbrush and trying to get it working for you?
LikeLike